How I Built My Own Server Ecosystem (and Why I Think Everyone Should Try)
If there’s one project that ties all my passions together—networking, security, automation, coding, design—it’s my homelab.
What started as a simple goal to self-host a personal website quickly evolved into a fully-fledged multi-service server environment. Running 24/7 on my own hardware, my homelab now supports websites, dashboards, automation tools, media streaming, IoT monitoring, cloud storage, and more—all built, configured, and secured by me.
This project has been one of the most challenging and rewarding things I’ve done—and it continues to grow every day.

My homelab runs primarily on repurposed Lenovo ThinkCentre machines I’ve affectionately named thefrogpit and thebrain. They’re compact, energy-efficient, and powerful enough to handle multiple services via containers and reverse proxies.
🌍 My Personal Website
I self-host averyizatt.com, built on WordPress and served through Nginx with Let’s Encrypt SSL, custom themes, and DNS managed through Cloudflare. Everything from the domain name to uptime monitoring is configured and maintained by me.
📊 Sensor Dashboards & Flask APIs
I designed and deployed a live Frog Tank Monitoring System using ESP32 microcontrollers, Flask APIs, and custom dashboards. It logs real-time temperature, humidity, lux, and TDS values across multiple enclosures and displays them visually at averyizatt.com/terrariums. Each sensor has individual logging, alerts, and uptime status via Ntfy push notifications.
📦 Plex, qBittorrent, Jackett & Media Automation
My media server setup includes:
- Plex for local streaming
- qBittorrent bound to a VPN for safety
- Jackett + RSS Feeds for automated content delivery
- All secured behind a reverse proxy with Fail2Ban and AppArmor configured for intrusion prevention
🧭 Homer Dashboard
I use a Homer dashboard to monitor all my services in real time. It shows current sensor data, server uptime, and links to tools like Plex, Nextcloud, Cockpit, and more.
☁️ Nextcloud Personal Cloud
I run my own instance of Nextcloud for secure file storage and syncing between devices. No third-party cloud dependency—just private, encrypted access hosted right in my home.
🛠️ Guacamole, Kasm, and Admin Tools
For remote access, I’ve integrated:
- Apache Guacamole for browser-based VNC/SSH
- Kasm Workspaces for containerized desktops
- Cockpit and Logwatch for system monitoring and log parsing
🔒 Security First
Running internet-facing services comes with real responsibility. I’ve hardened my servers using:
- Fail2Ban to block brute-force attempts
- SSH key-only login
- Firewalls and UFW rules
- AIDE and Auditd for integrity checks
- Regular backups to a dedicated 3TB drive, with a viewer integrated into the dashboard
🔄 Automation & Scripting
I created my own setup script that installs and configures:
- Nginx + Certbot
- WordPress
- Plex
- qBittorrent
- Fail2Ban
- All with auto-start services and secure permissions
I’ve also written automation scripts to:
- Prune logs
- Auto-delete old sensor data
- Check backup health
- Generate service status banners for the Homer dashboard
🧠 What I’ve Learned
This project taught me real-world applications of:
- Linux server administration
- Reverse proxies and port forwarding
- Systemd services and autostart
- Bash scripting and Python APIs
- Docker, virtualization, and container security
- Troubleshooting live systems under real user load (me 😅)
🔗 Why It Matters
Self-hosting has made me a better engineer. It’s taught me to think about:
- Scalability and modular design
- Fault tolerance and uptime
- Security by design, not by patch
- Building things for myself and for others
My homelab isn’t just a server—it’s a playground, a test bench, a workspace, and a digital home I built from the ground up.
A Self-Made Command Center with NFC, Screen Display, and Raspberry Pi Integration
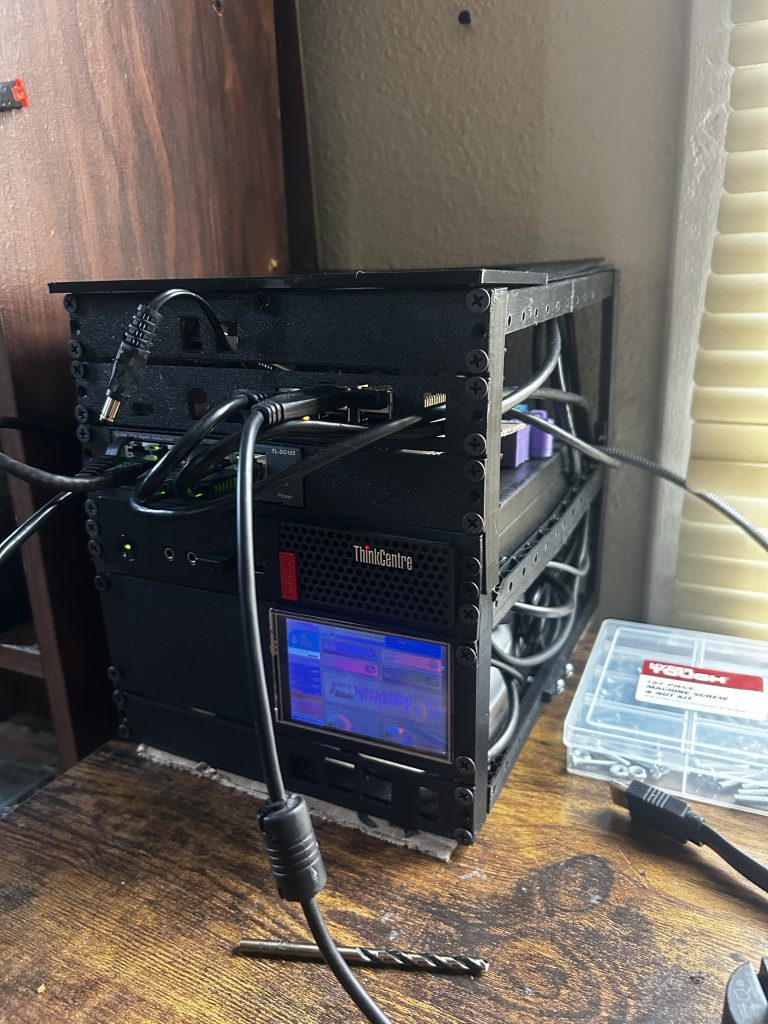
To bring order (and a little flair) to my growing homelab, I went beyond software—I designed and 3D printed my own modular enclosure to house the key components of my server setup.
What started as a project to mount a screen and a Raspberry Pi turned into a full-blown custom-built command station with support for:
- 💻 Multiple Lenovo ThinkCentre units
- 🧠 Raspberry Pi with built-in touchscreen support
- 🏷️ NFC card reader/writer integration
- 🔌 Clean cable management and modular power routing
- 🌡️ Vents for airflow and cooling under server load
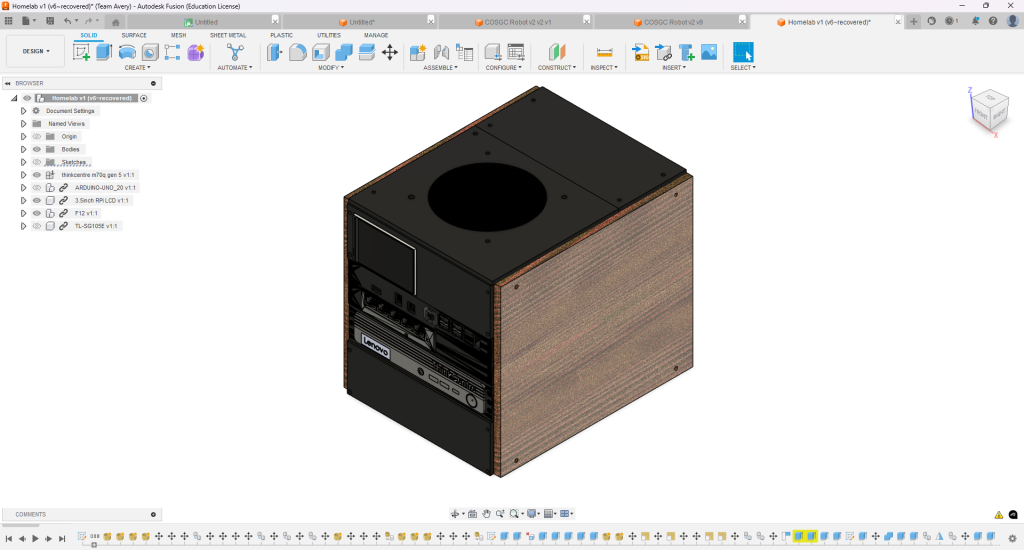
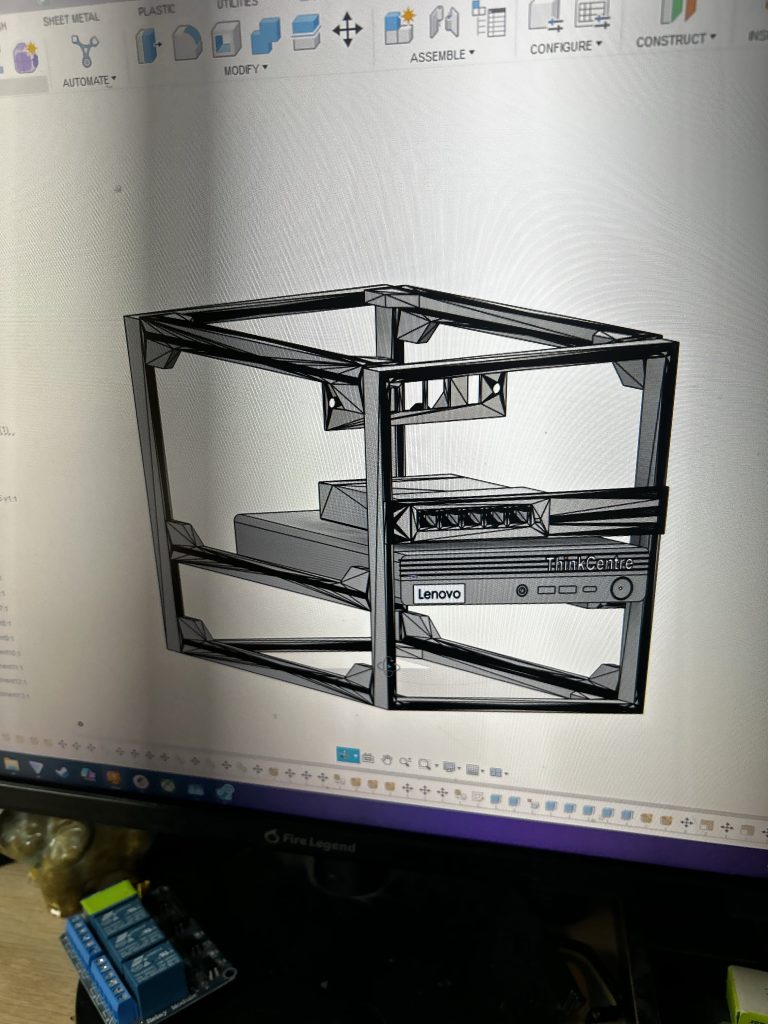
🛠️ Design & CAD
I modeled the enclosure using Fusion 360, carefully planning space for:
- Horizontal mounting slots for multiple ThinkCentre M-series SFF units
- A secured Pi tray with access to GPIO headers
- Cutouts for HDMI, USB, and Ethernet pass-through
- Snap-in mounts for a 3.5″ TFT screen and camera module
I included custom vents and fan brackets, using overlapping grill patterns to both diffuse airflow and add visual style.
All parts were printed on my Ender 3 V2 using Pro Nylon for heat resistance near the Pi and ThinkCentre vents.
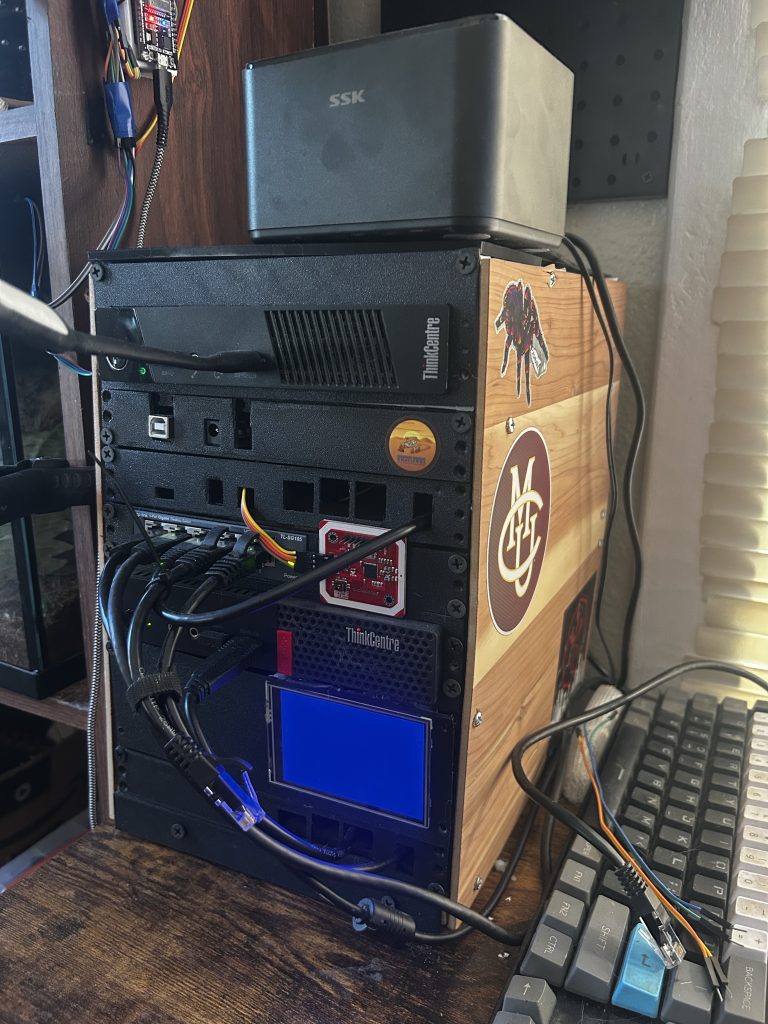
📟 Integrated Screen Display
On the front panel, I mounted a 3.5″ TFT Raspberry Pi display, which now runs a custom status screen showing:
- CPU usage
- Temperature
- IP address
- QR code for server access
- NFC scan status when active
This screen is powered by a lightweight Python app that refreshes live stats and supports soft shutdown/reboot buttons via GPIO.
📶 NFC Access Control
One of the most exciting additions is the NFC card reader/writer, mounted inside a flush front slot with LED feedback. I’ve programmed it to:
- Read custom NFC tags for login or access triggers
- Log tag scans to a local SQLite database
- Eventually trigger services like user-specific dashboards or log retrieval
(I’m exploring future use for secure local unlock of encrypted drives or launching custom user shells.)
🔌 Multi-System Power & Clean Routing
Cable routing is fully internal, using:
- A fused DC power bus
- Toggle switch for global shutdown
- Mounting channels for SATA power routing and USB hub access
🧩 Why I Built It
This project was about blending hardware, CAD, software, and self-hosting into one physical artifact. It gave me full control over:
- Layout and thermals
- User interaction and expandability
- Aesthetic and visual branding for my homelab