Motion, Music, and Meaning — Learning Cinematics Through After Effects & Cinema 4D
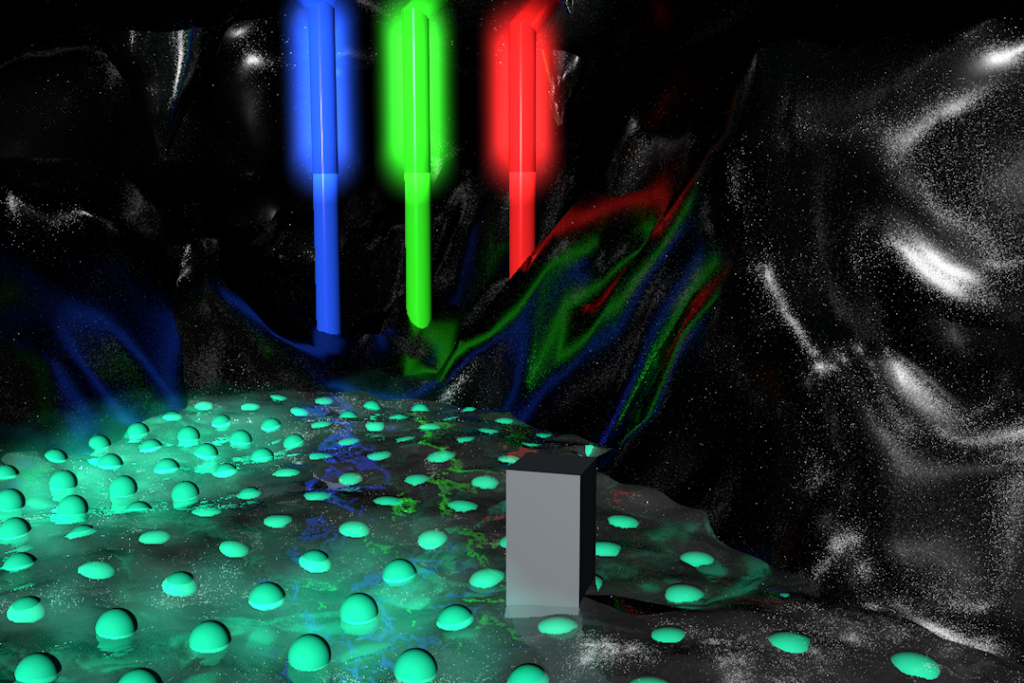
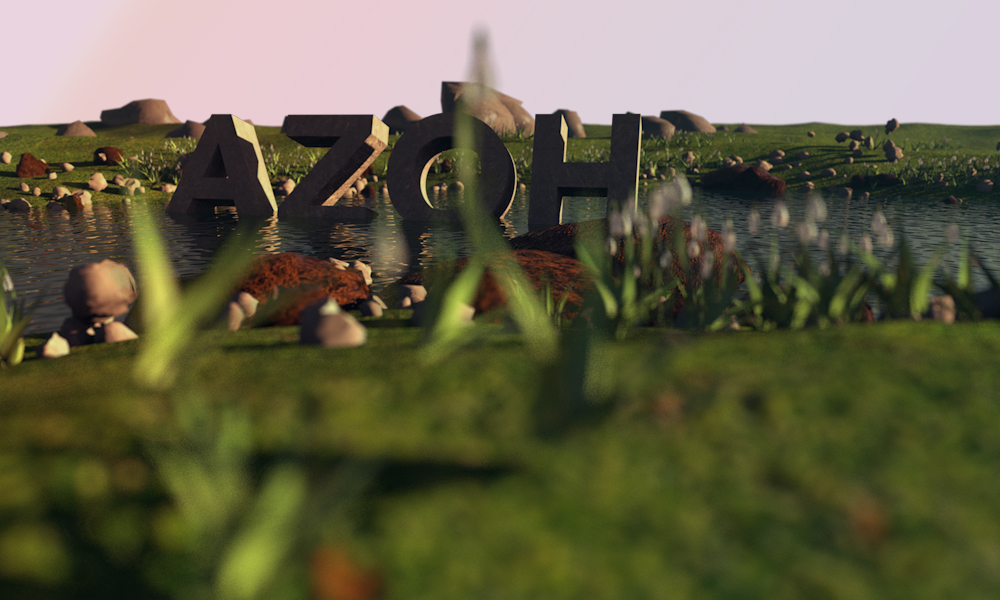
While my early graphic design work taught me visual composition, it was video editing that taught me motion and timing. Alongside my identity as Raven Arts, I created cinematic edits for gaming montages, channel intros, and community projects—mostly for the same online spaces I designed artwork for.
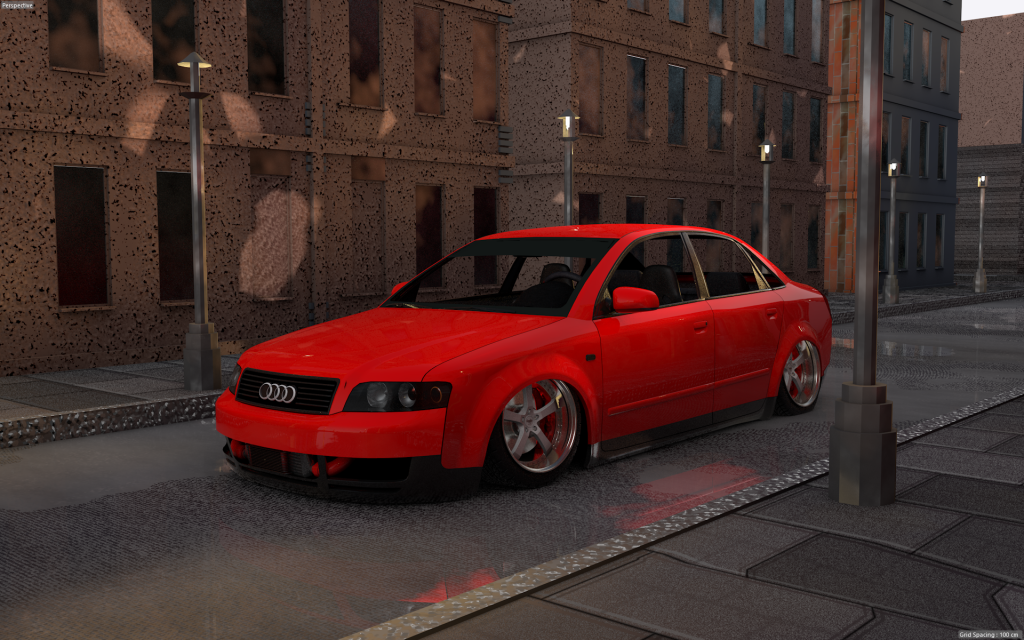
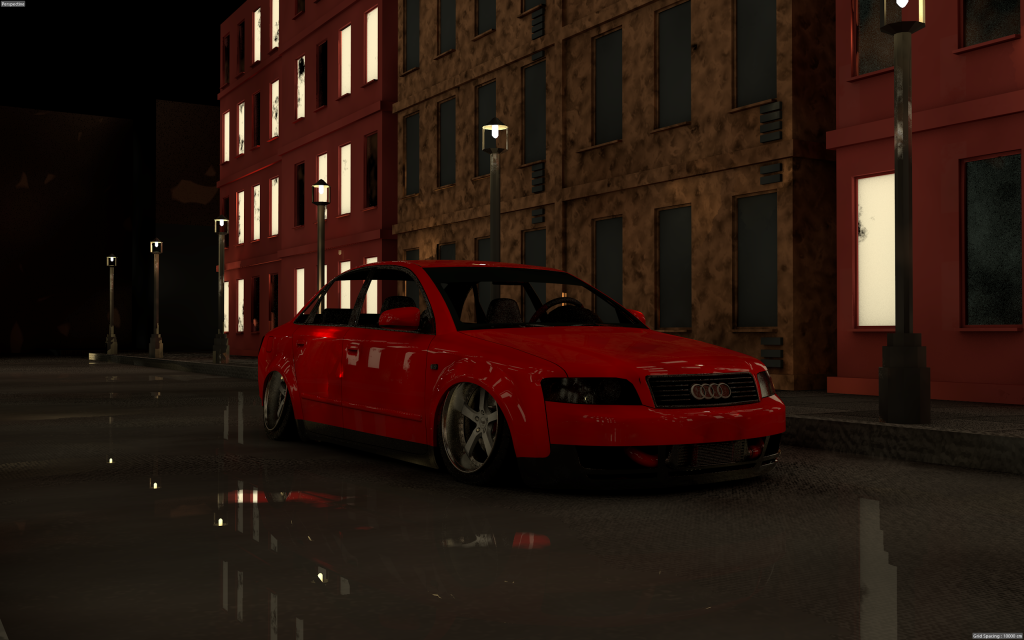
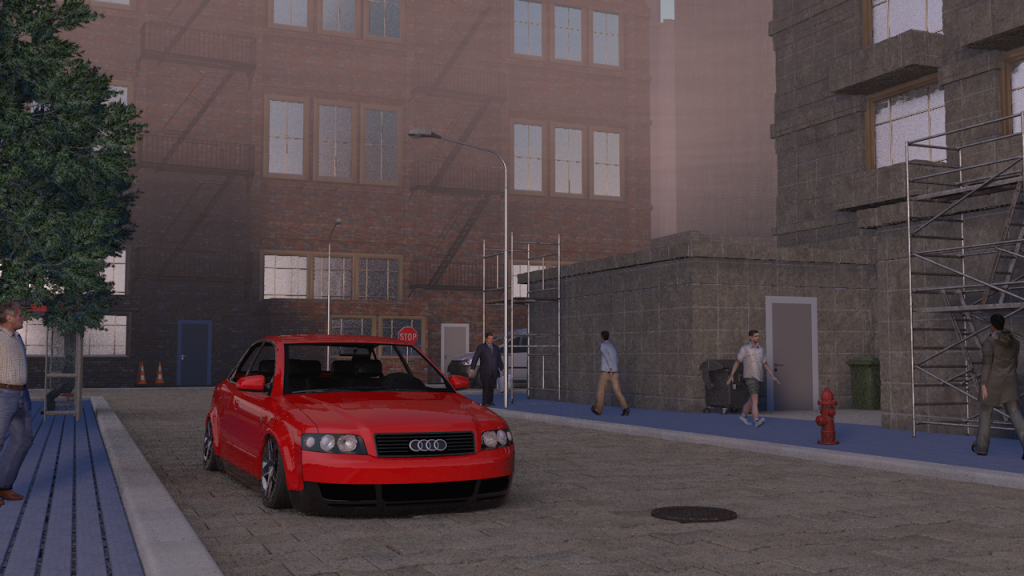
Using Adobe After Effects and Cinema 4D, I taught myself how to sync motion with music, add kinetic typography, build custom 3D transitions, and render dramatic effects that elevated basic footage into stylized edits. These projects taught me not just software—but storytelling through movement.
From Logos to 3D Rendering: How Design Sparked My Creative Engineering Path
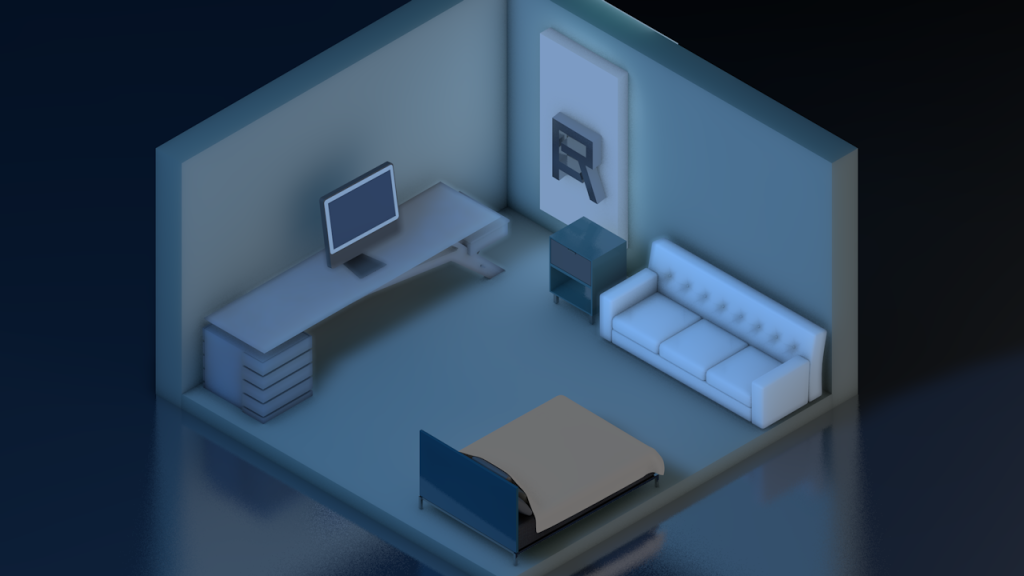
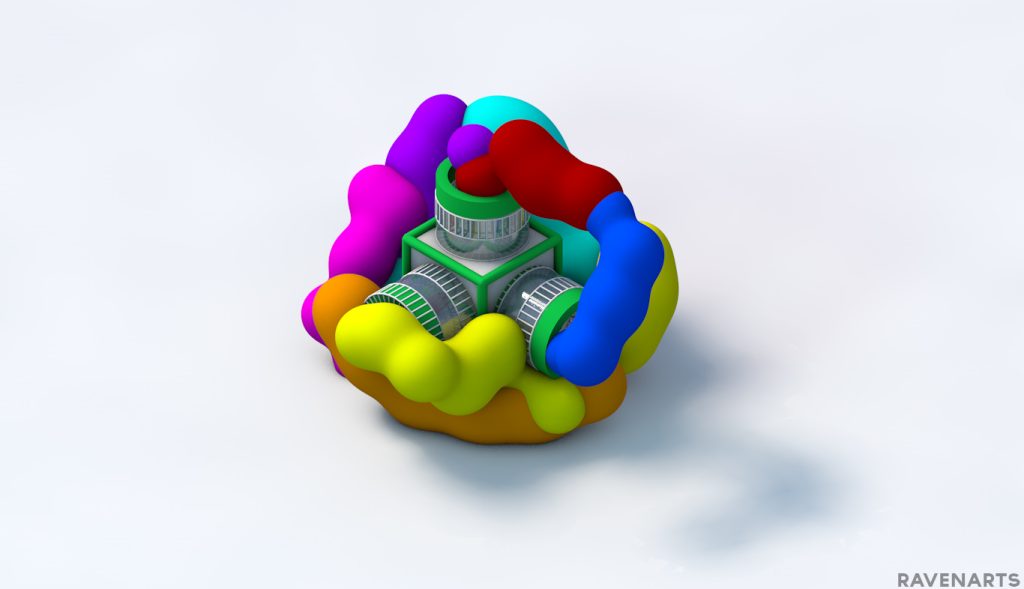
Before I was wiring ECUs or designing robots, I was creating digital art under the name Raven Arts. As a teenager, I began freelancing online, designing custom artwork for a wide range of niche gaming communities—from fantasy MMOs to competitive FPS clans. I created everything from logos and social media banners to ad graphics and stream overlays, often working with content creators and guild leaders to bring their visions to life.
Learning design early helped me get comfortable with complex creative software like Photoshop, Maya, Cinema 4D, Octane Renderer, and Fusion 360—tools I now use in much more technical contexts for engineering, animation, and 3D modeling.
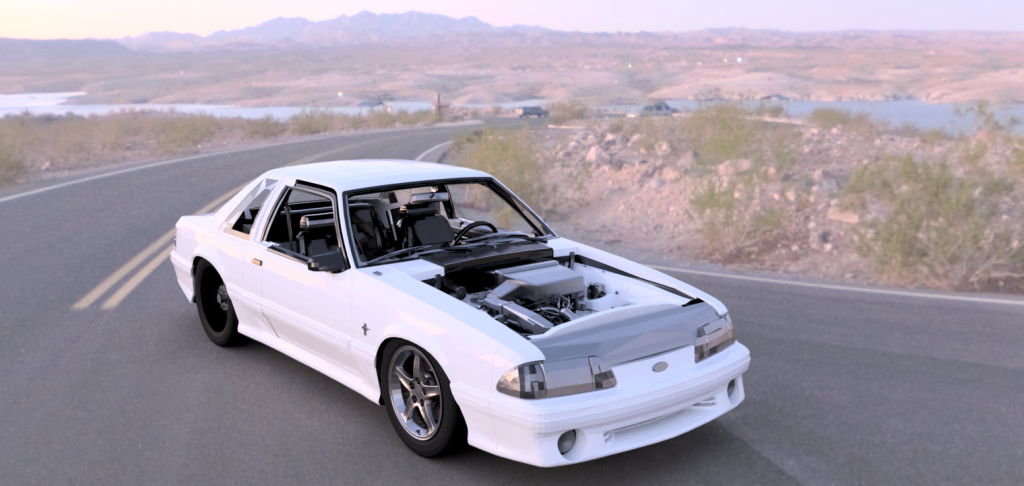
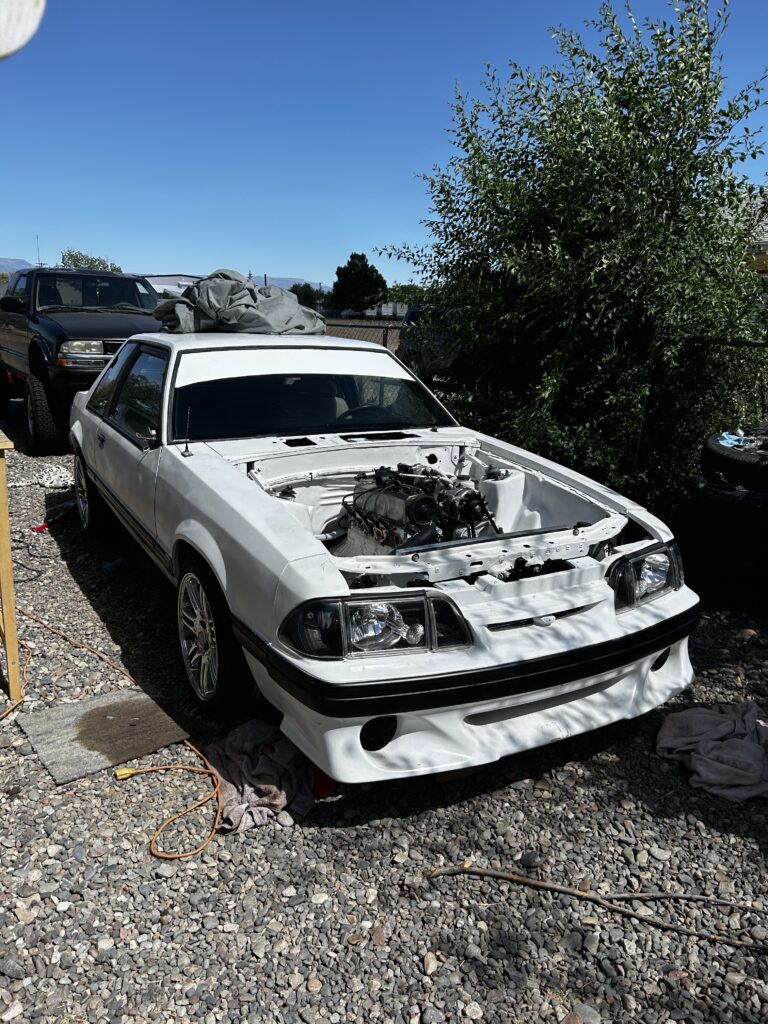
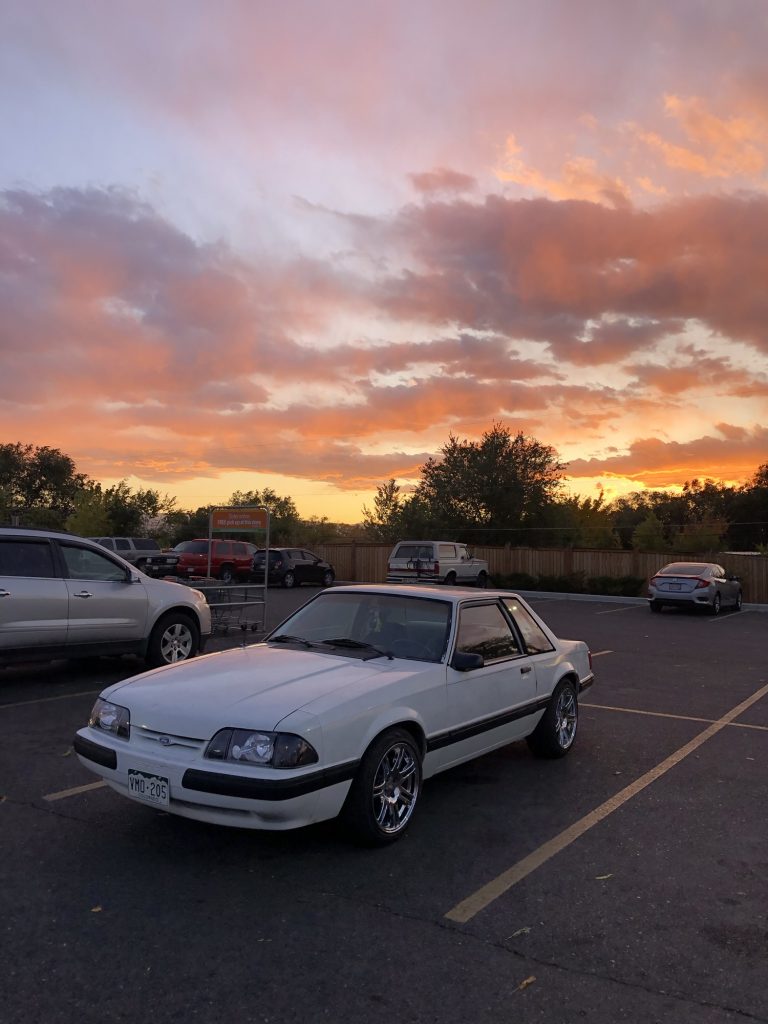
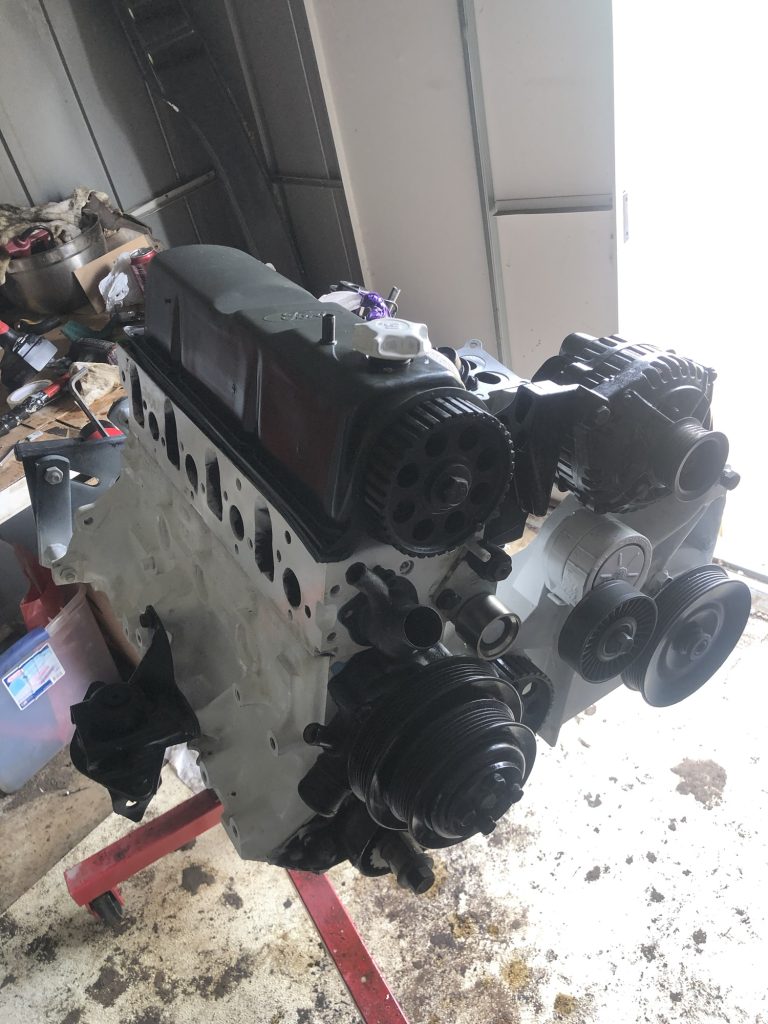
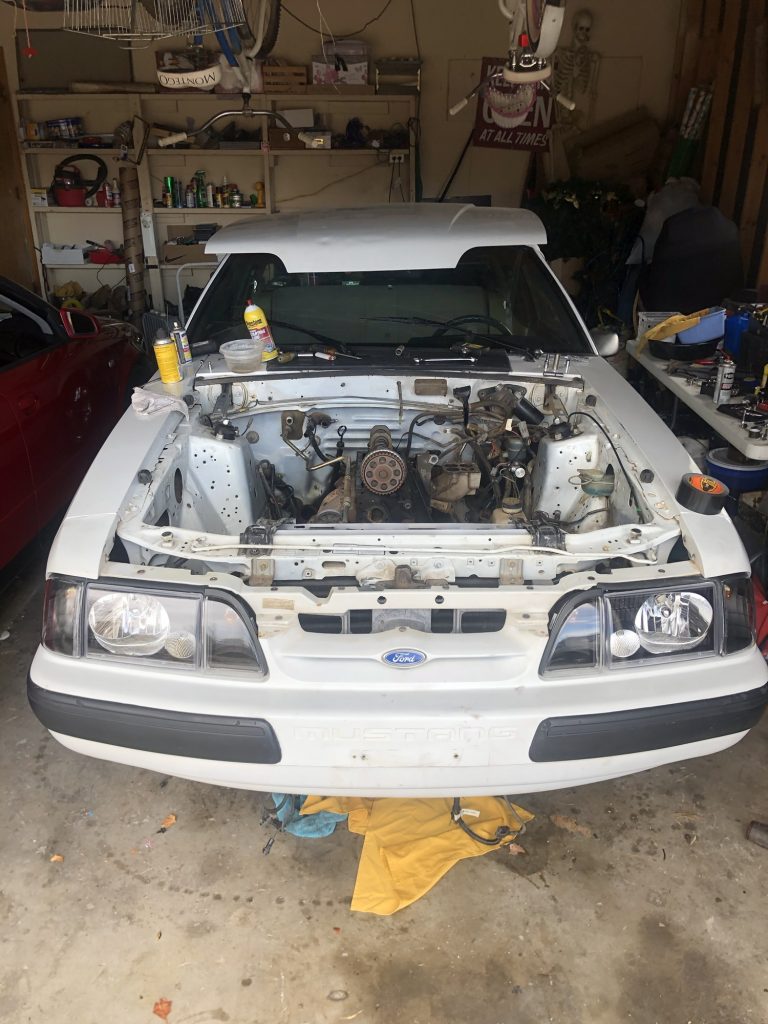
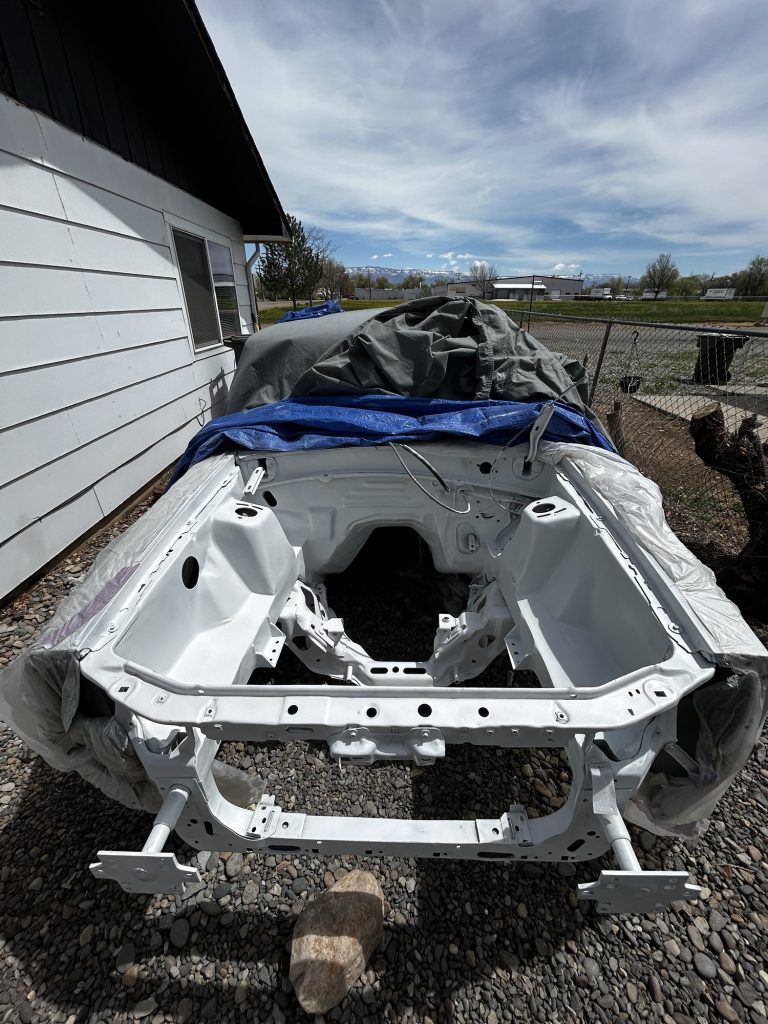
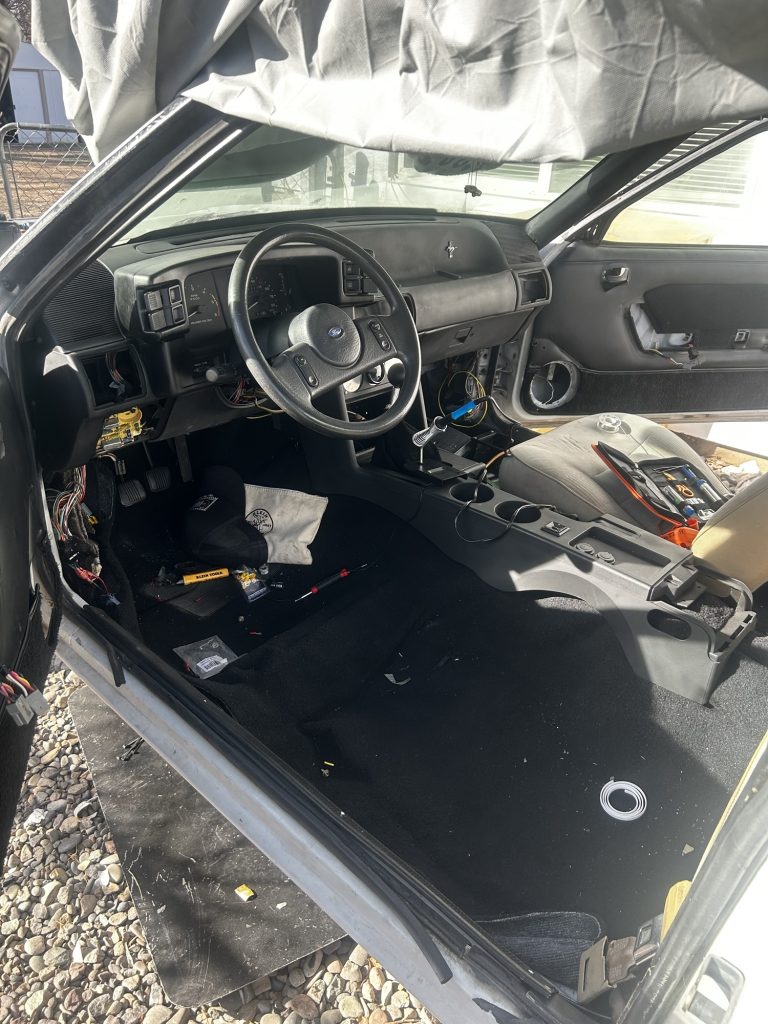
When people ask where my love for cars and engineering started, I always come back to one thing—my first car: a 1989 Foxbody Mustang LX 2.3L. It wasn’t just a vehicle—it was my blank canvas, my first real hands-on project, and the machine that jumpstarted my obsession with building, tuning, and truly understanding cars from the inside out.
I got the car when I was still early in my automotive journey. Stock, slow, and in need of serious work—but something about that boxy, raw chassis spoke to me. It wasn’t about how fast it was out of the gate—it was about what it could become. This Mustang became the foundation where I built not just a car, but a deep passion for performance vehicles and electronics integration.
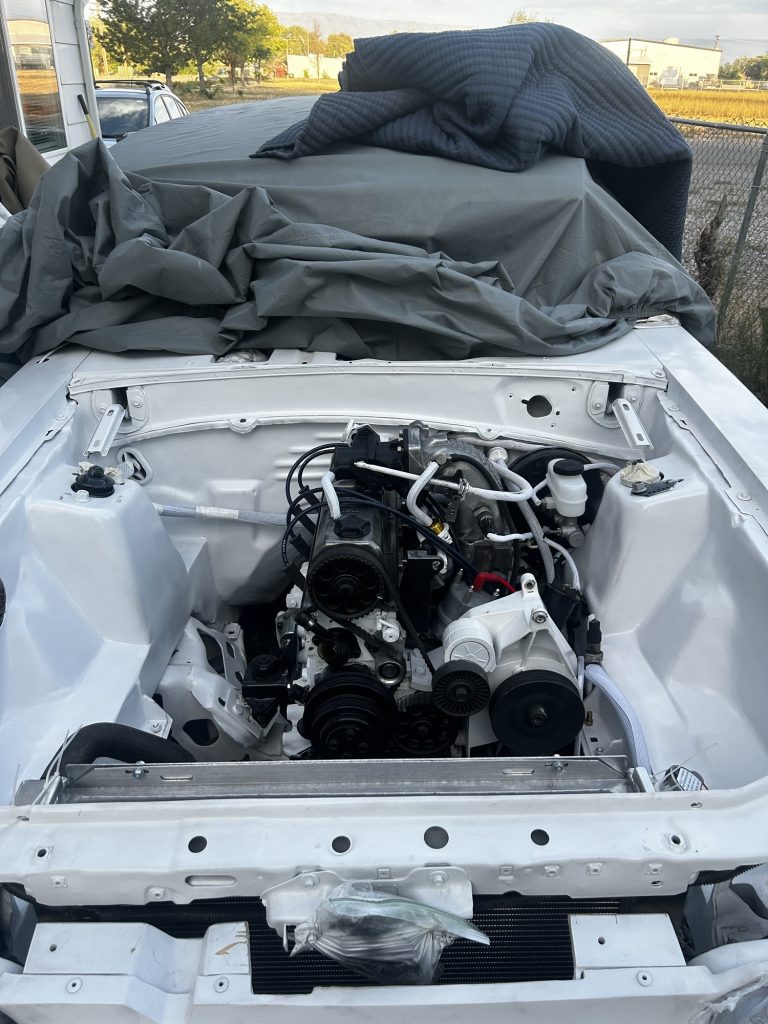
Over the years, this Foxbody has gone through major transformations:
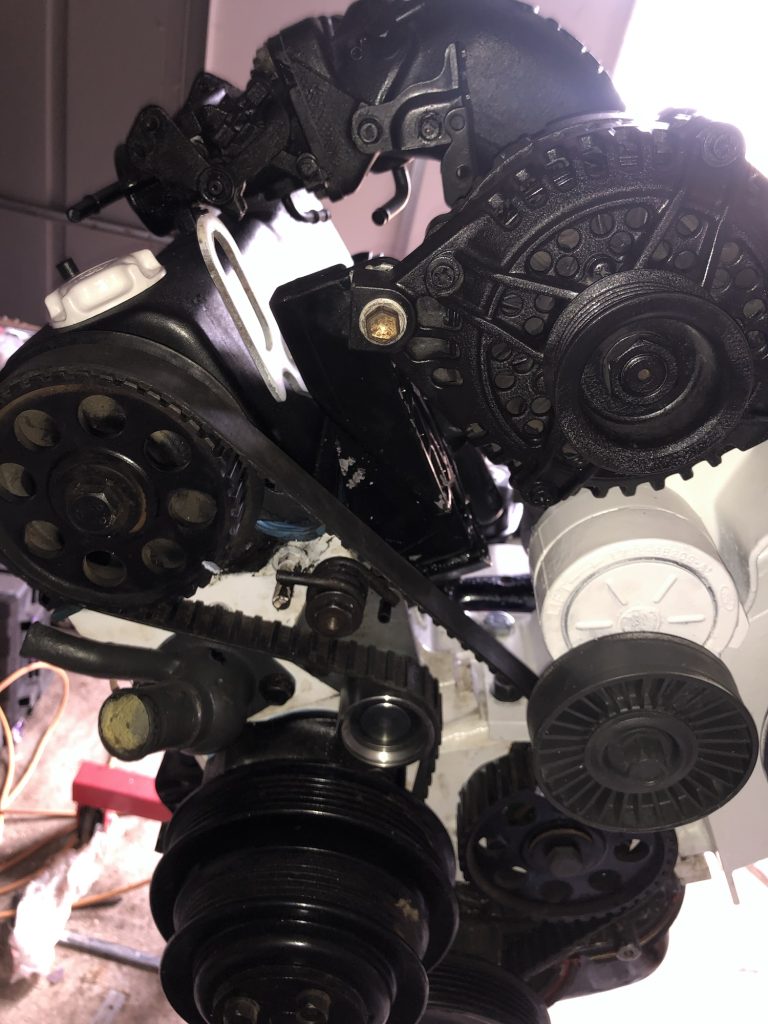
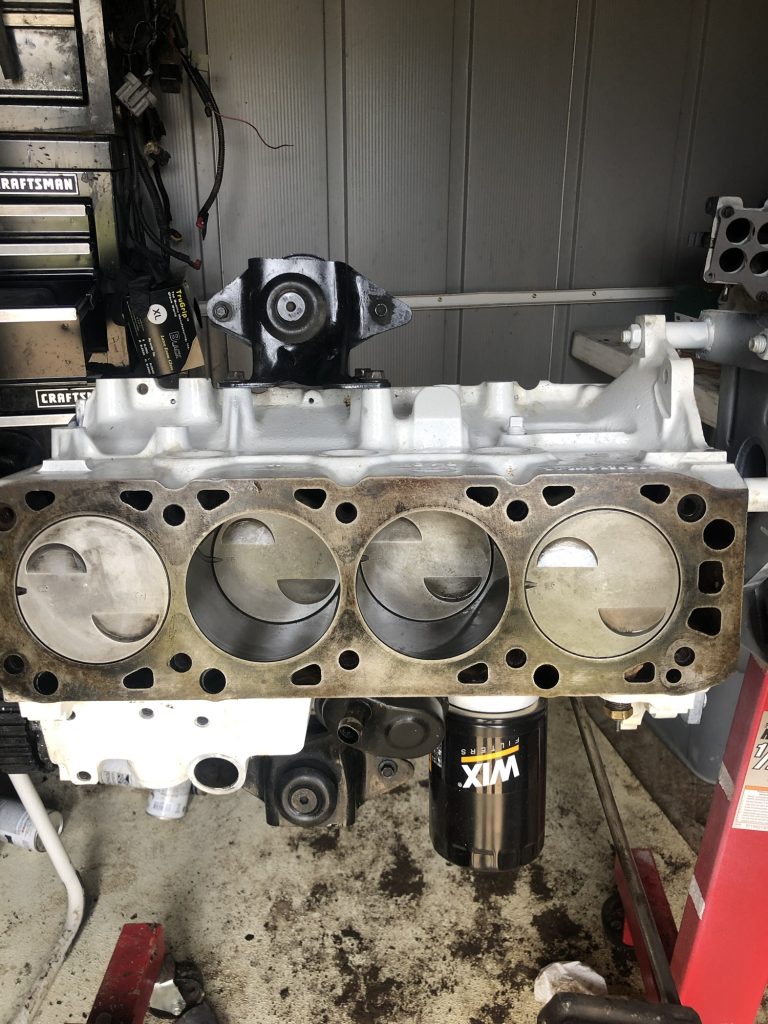
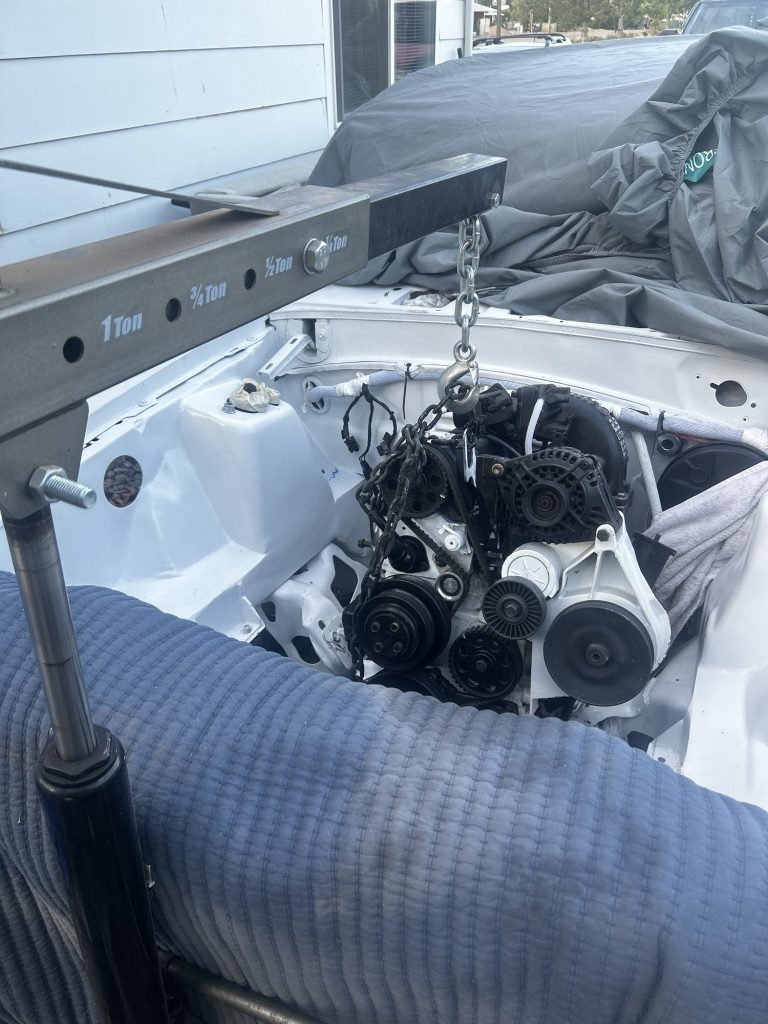
I rebuilt the 2.3L Lima engine from the bottom up.
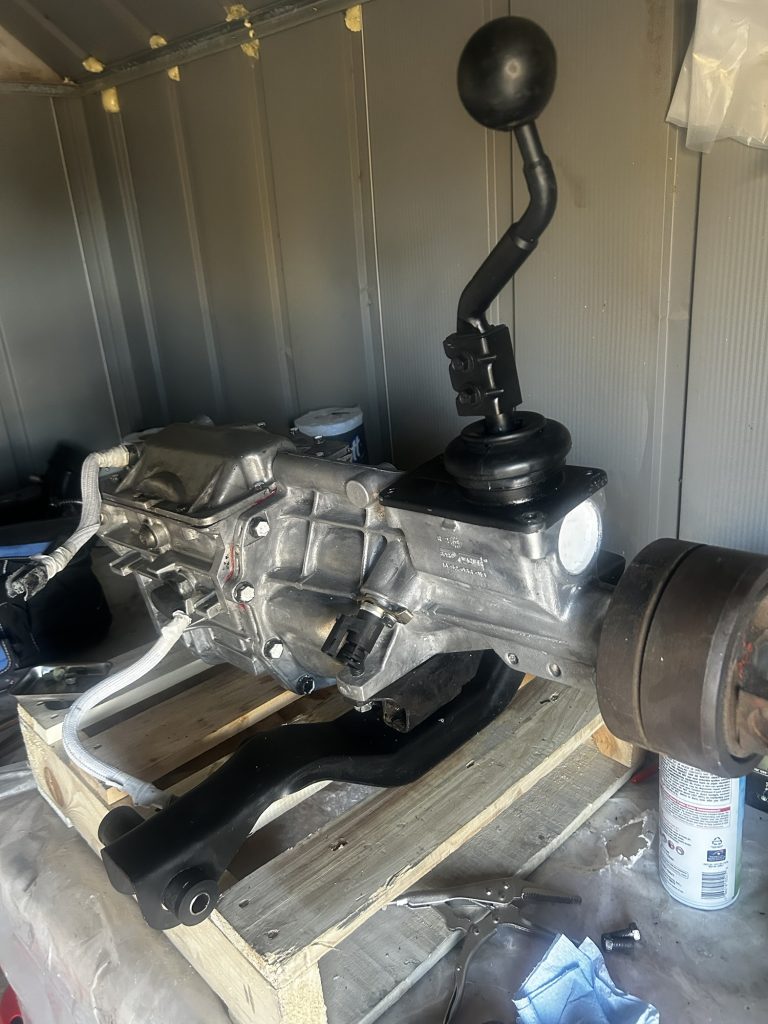
Swapped it to a manual transmission.
Designed and wired a custom engine harness.
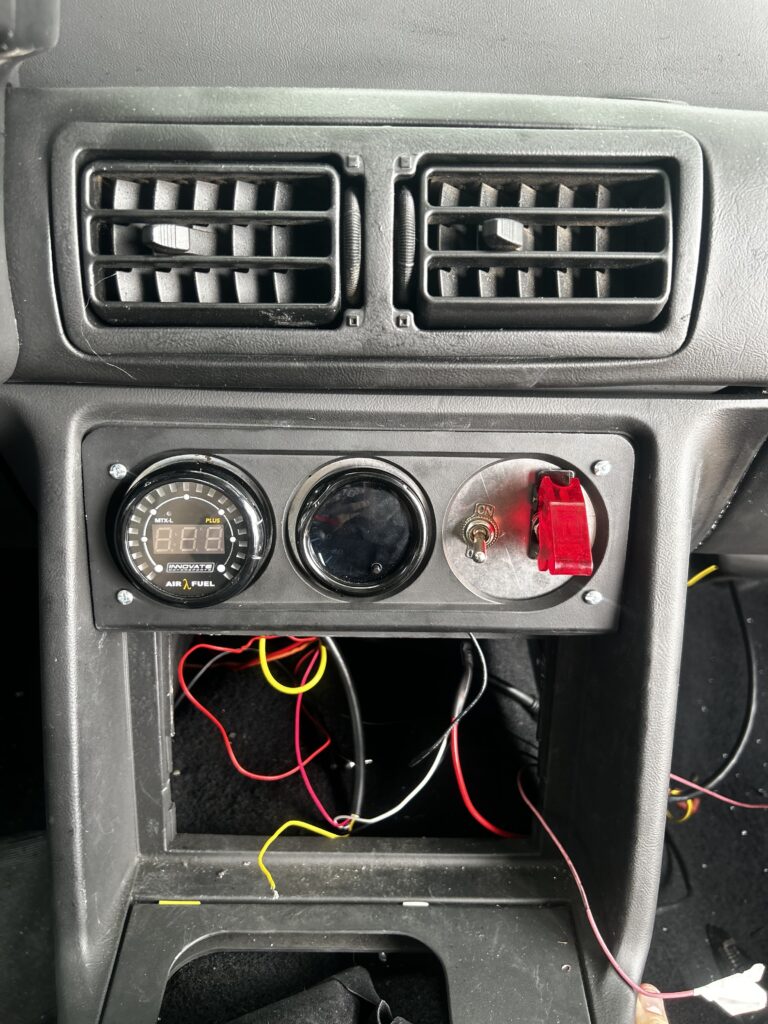
Installed a Microsquirt standalone ECU.
Converted to coil-on-plug and distributorless ignition.
Each of these steps taught me more than any textbook could. I dove deep into electrical engineering, engine tuning, diagnostics, fabrication, and the trial-and-error process of building something real.
This Mustang didn’t just teach me how to work on cars—it showed me how to push through setbacks, learn new systems fast, and take pride in every part of the process. It also gave me the confidence to take on bigger challenges—like designing embedded systems, building robotics, and leading engineering projects.
This is the first post in a series where I’ll be breaking down the entire journey—from the engine rebuild to the custom ECU and everything in between. If you’re into hands-on learning, standalone ECUs, tuning, or just love a good DIY story, you’ll feel right at home here.
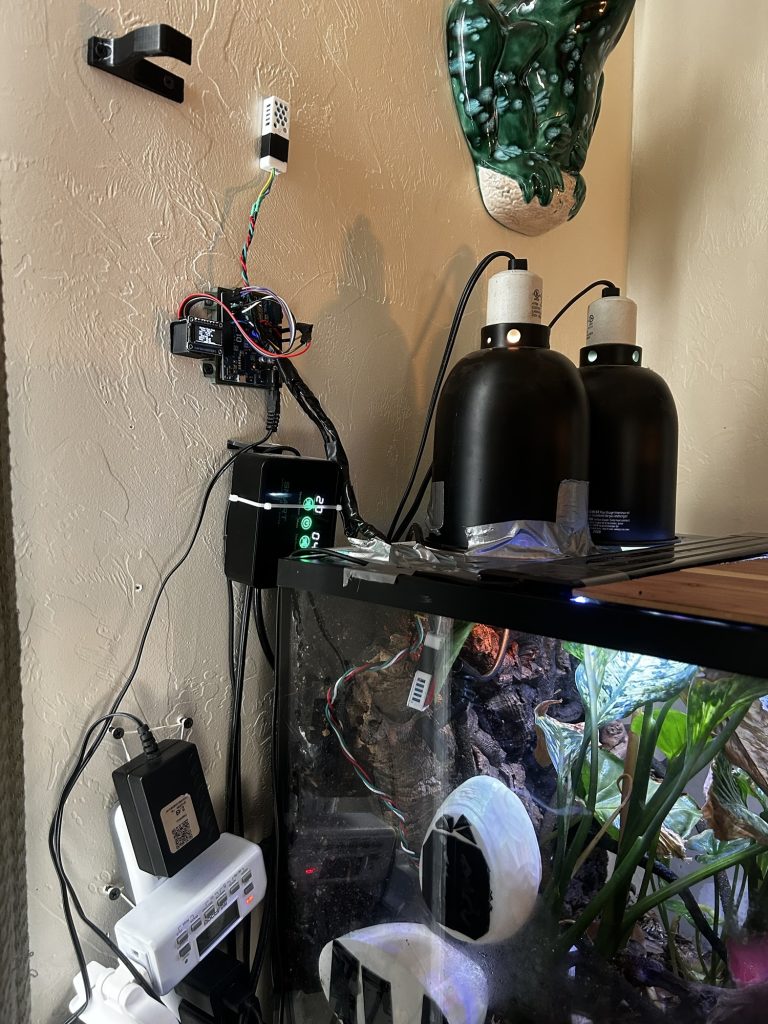
Welcome to one of my favorite ongoing builds—an environmental monitoring system made specifically for my frog terrariums and exotic pets. This project started as a way to keep an eye on temperature and humidity in my Whites Tree Frog and Green Tree Frog enclosures, but it quickly grew into something bigger: a full-stack, scalable home automation system with live dashboards, push notifications, and species-specific care profiles.
The Goal: Peace of Mind for My Frogs
Reptiles and amphibians are highly sensitive to their environments. Too cold, and their metabolism slows. Too dry, and they risk dehydration or stress. This system ensures that each tank stays within ideal parameters 24/7, even when I’m not around to check manually.
With this setup, I can instantly see:
Current temperature and humidity in each tank
Graphical trends over time
Alerts when anything goes out of range
Uptime status for each sensor (so I know if a device goes offline)
The system currently monitors the following zones:
Whites Tree Frog Terrarium
Green Tree Frog Terrarium
Office Environment
Other/Experimental Sensors
(Soon to include Living Room, Bedroom, and 3D Printer)
Each zone has its own DHT11 sensor feeding data into a centralized API every few minutes.
Push Notifications with Ntfy
If any sensor detects a value outside the safe range—for example, a drop below 65°F for the frogs—I get an instant push notification via ntfy.sh. This means I don’t have to constantly check the dashboard—I’ll know right away if something’s wrong.
Example:
“ALERT: Green Tree Frog Terrarium temperature is 59.8°F — below safe threshold!”
Notifications are:
Lightweight and fast (sent via HTTP)
Platform-agnostic (can hit my phone, desktop, or browser)
Easy to configure per sensor profile
Each species has its own care range. For instance:
White Tree Frogs: 70–85°F and 50–80% humidity
Red Knee Tarantulas: 70–80°F and 50–60% humidity
Office sensors: monitored, but do not trigger alerts
Full Tech Stack Breakdown
This is a mix of hardware and software designed to be flexible, scalable, and DIY-friendly.
Power via USB (plugged into a powered USB hub on the server rack)
Software:
Firmware: Custom C++ sketch using Arduino libraries, sending JSON via HTTP POST
Flask API (Python):
Accepts and logs incoming sensor data
Serves real-time values and CSV logs via REST endpoints
Mounted at /terrariums and served securely with Nginx
Data Logging:
Sensor logs saved in /home/thefrogpit/frog-api/logs/ as CSV files
Timestamps included for graph generation and device health checks
Dashboard UI:
Built from scratch using HTML/CSS + Chart.js for rendering graphs
Hosted at /var/www/dashboard on thefrogpit
Reverse Proxy + HTTPS:
Nginx routes traffic and handles SSL (Let’s Encrypt via Certbot)
Push Notifications:
Ntfy topics configured per sensor using Python requests and if statements in the app
Why It Matters
This project isn’t just about cool graphs or smart home bragging rights—it’s about preventing harm and improving care. I’ve caught real issues early because of this system:
A heater failure that dropped temps dangerously low
A sensor cable that came loose and triggered a “sensor offline” status
Unexpected humidity spikes due to a malfunctioning fogger
Plus, it’s totally expandable. I can easily add:
More tanks and terrariums
Outdoor sensors for gardening or weather
Air quality, light, or motion sensors
If you’re into DIY electronics, exotic animal care, or just like building things that actually help in the real world—this system is for you.
Want to Build Your Own?
If you want a copy of the code, wiring diagrams, or help setting up your own system, feel free to reach out. I’m planning to release a GitHub repo and setup guide soon.
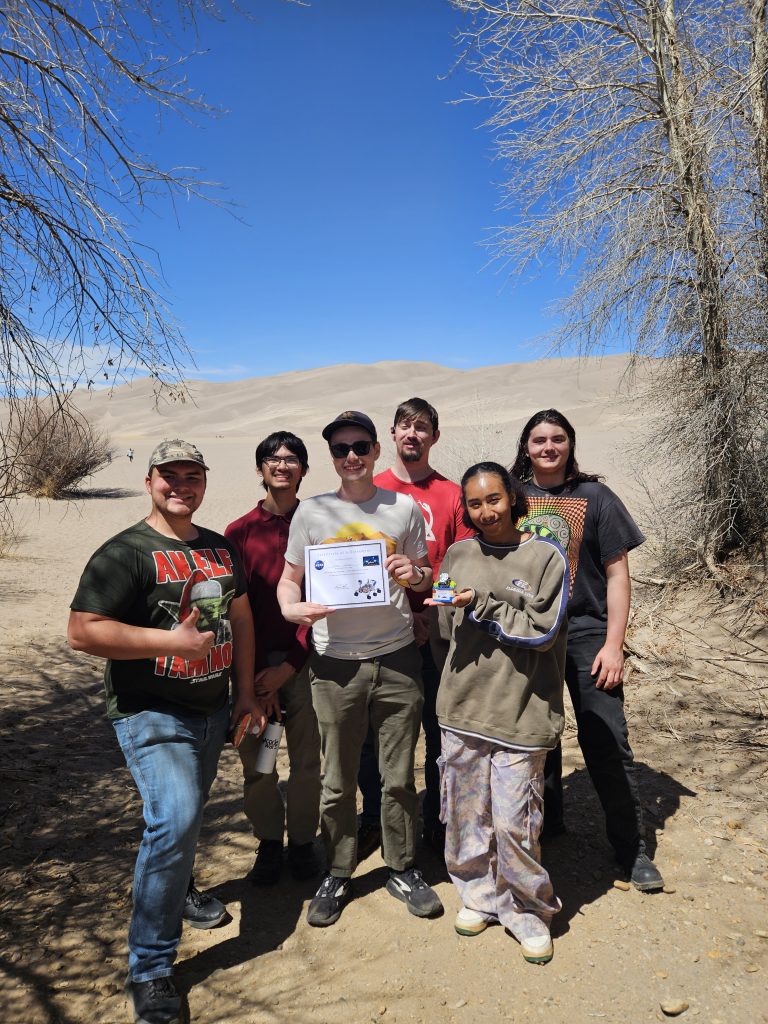
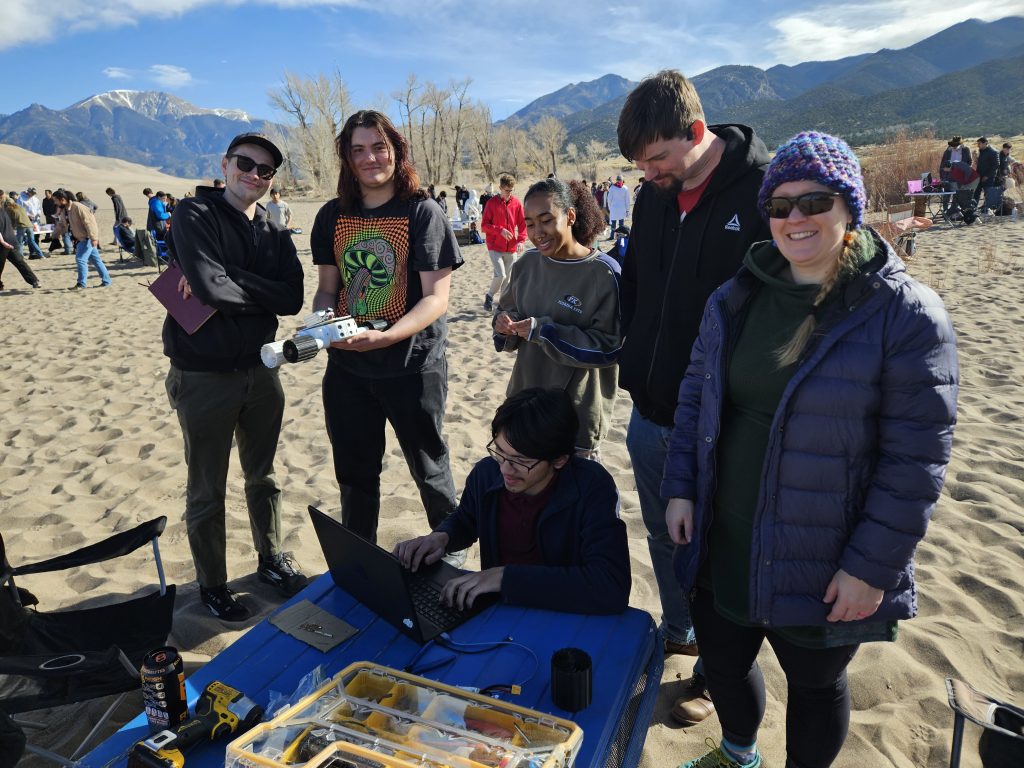
This year’s Colorado Space Grant Consortium (COSGC) Robotics Challenge was nothing short of incredible—and I’m proud to share that our team won Best in Class in the under 1.5kg category!
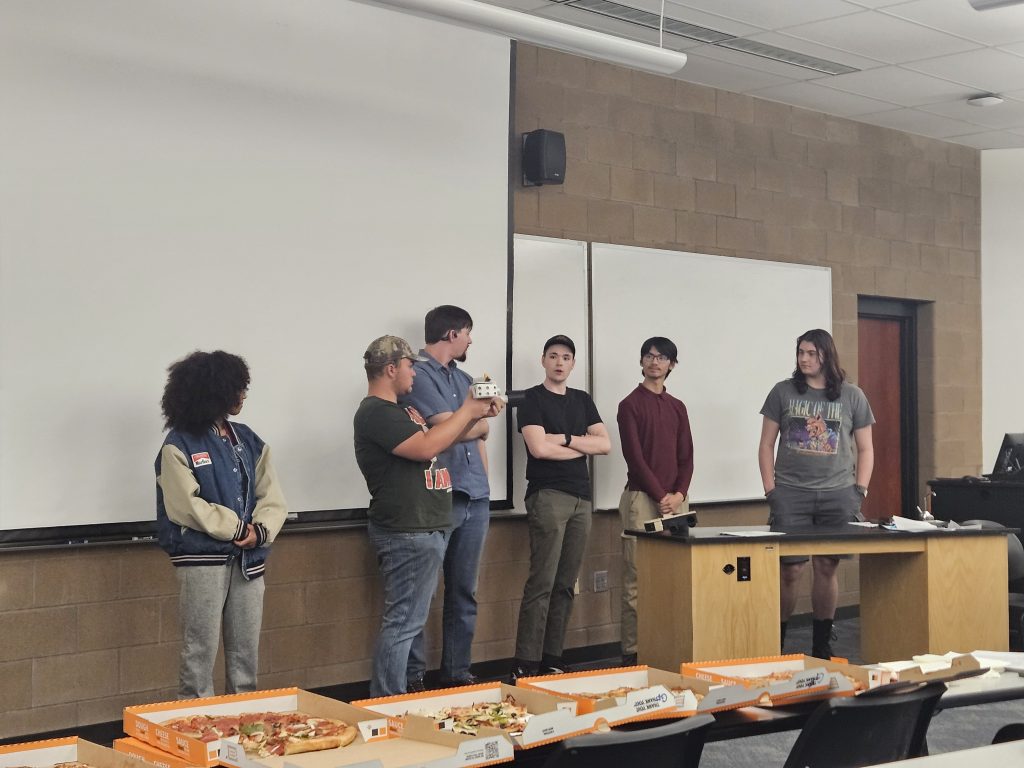
We competed against ten other university teams, each bringing their A-game, with robots built to tackle a simulated planetary terrain. As the president of our IEEE club and the team’s lead presenter, it was an honor to represent Colorado Mesa University on a stage filled with such innovative minds. Our presentation highlighted not only our design and build process, but also our problem-solving, teamwork, and iterative improvements that we pushed right up until the finish line.
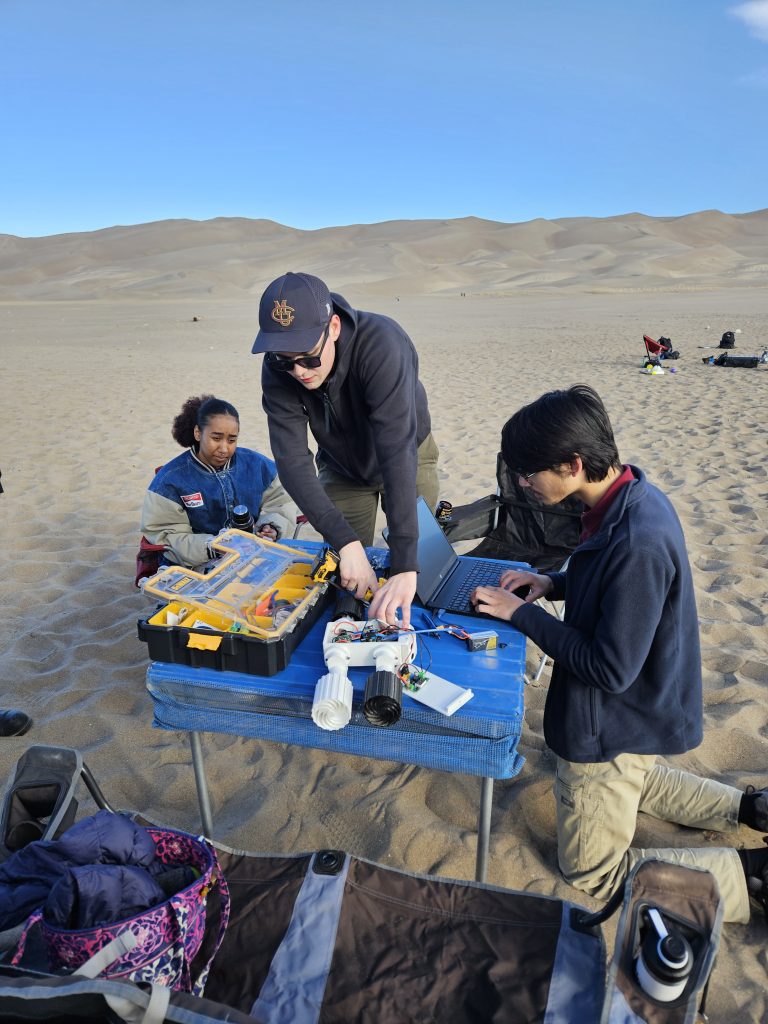
And when I say “finish line,” I mean it—our team stayed up in the hotel until 2AM the night before the event, huddled over the robot, soldering, coding, 3D printing last-minute tweaks, and perfecting the bot’s navigation logic. It was a grind, but it reminded me what engineering is really about: rapid learning, adaptation, and collaboration under pressure. That effort paid off.
Winning Best in Class was a proud moment, but the biggest takeaway wasn’t the trophy—it was everything we learned about how to grow and improve from here. As we reflect on the experience, a few key lessons stand out:
What We Learned
Testing early and often matters. Some of our challenges could’ve been caught sooner if we had done more iterative field testing.
Team communication is everything. Staying in sync, especially across sub-teams (hardware, software, design), is what helped us rally when it counted most.
Every failure is a chance to improve. We hit a lot of walls—both figurative and literal—and each one taught us something new about our bot and ourselves.
What’s Next
We’re already thinking ahead. There’s so much potential to evolve our robot beyond this first prototype. Ideas on the table:
Upgraded sensor array for more precise terrain detection
Swappable modules to test different locomotion strategies
Better cable management and power efficiency
Autonomous pathfinding logic using computer vision
This experience has energized our whole club. We’re looking to channel that momentum into future competitions, community outreach, and expanding opportunities for all students interested in robotics and engineering.
If you’ve been following our journey, thank you. This win is shared with everyone who supported us—professors, peers, family, and friends. And if you’re just tuning in, we’ve got a lot more coming. Stick around.
As part of my engineering journey at Colorado Mesa University, I had the opportunity to participate in the Colorado Space Grant Consortium (COSGC) robotic rover challenge. COSGC is a NASA-sponsored undergraduate research program that allows students to gain hands-on experience designing real-world aerospace systems.
Our team was tasked with designing, building, and testing a planetary rover prototype capable of navigating variable terrain, detecting obstacles, and collecting basic environmental data. The project culminates in a statewide competition on April 12th, held in the Great Sand Dunes National Park, where our rover will be evaluated on performance, robustness, and autonomy.
COSGC Program Overview & Design Reviews
The COSGC program isn’t just a student showcase—it mirrors real NASA engineering workflows. That includes multiple formal design reviews, held with COSGC program directors and engineering professors from the University of Colorado Boulder. Each review challenged us to justify our engineering decisions, present data and documentation, and respond to constructive criticism in a professional format.
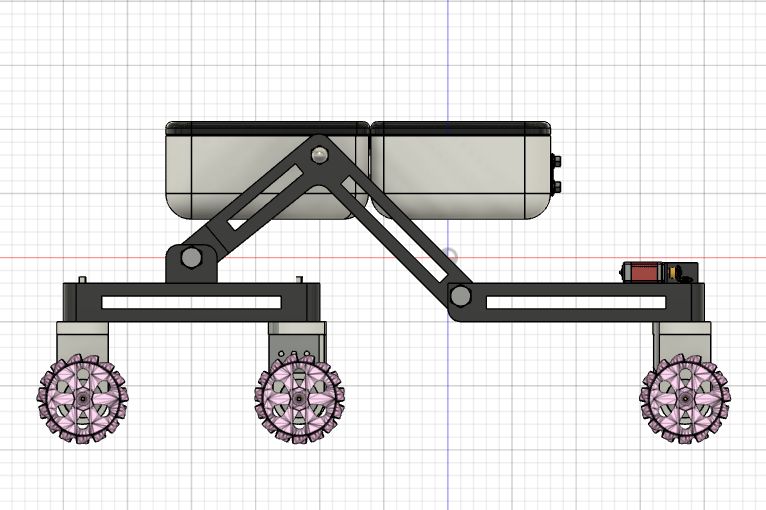
During our Initial Design Review (IDR), we proposed a rocker-bogie suspension system inspired by NASA’s own Martian rovers. Our presentation included 3D CAD renders, mechanical simulations, and wiring schematics.
Despite the ambition, the CU Boulder faculty raised valid concerns:
The design was mechanically complex
It exceeded the scope of our timeline and material constraints
It was prone to failure without precision-machined parts
Their advice: simplify, modularize, and focus on core function over form.
That feedback fundamentally shaped our approach. We went back to the drawing board and committed to building something reliable, testable, and modular.
Mechanical Architecture & Chassis Fabrication
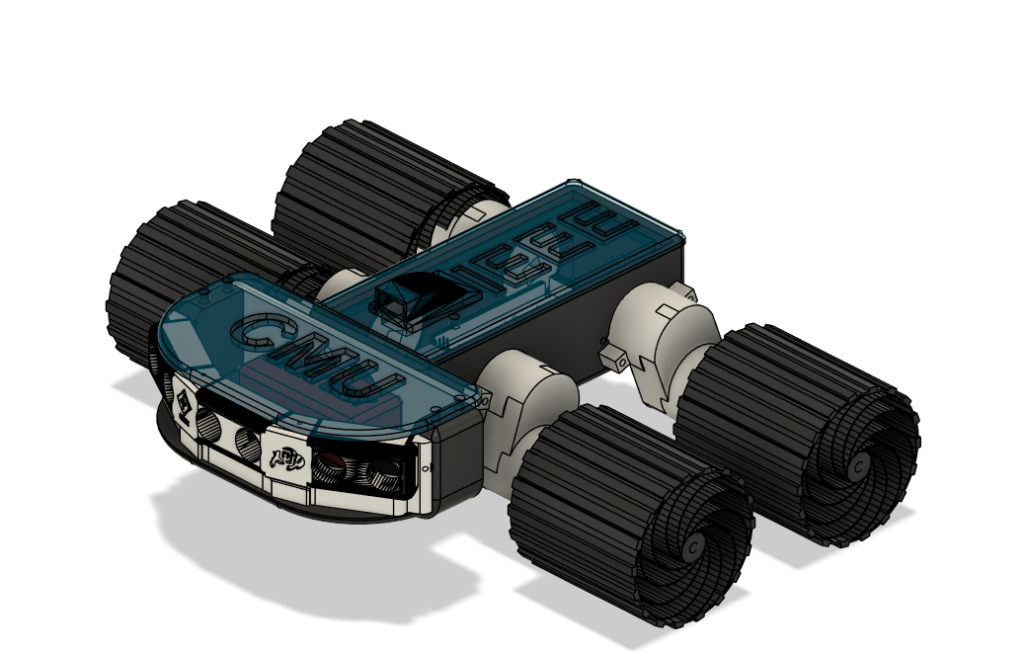
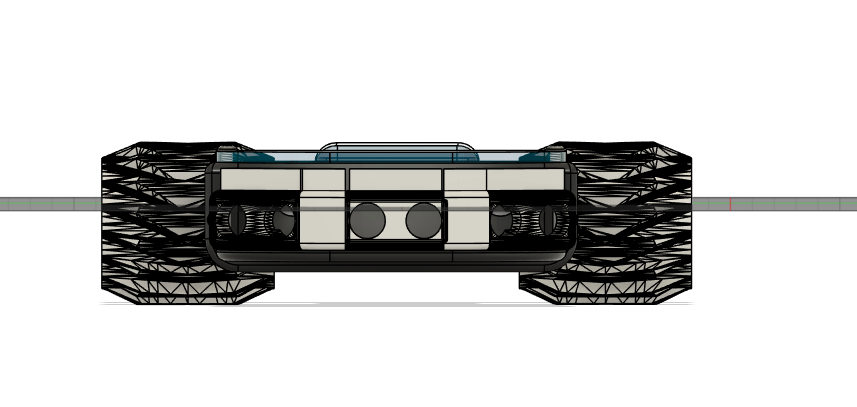
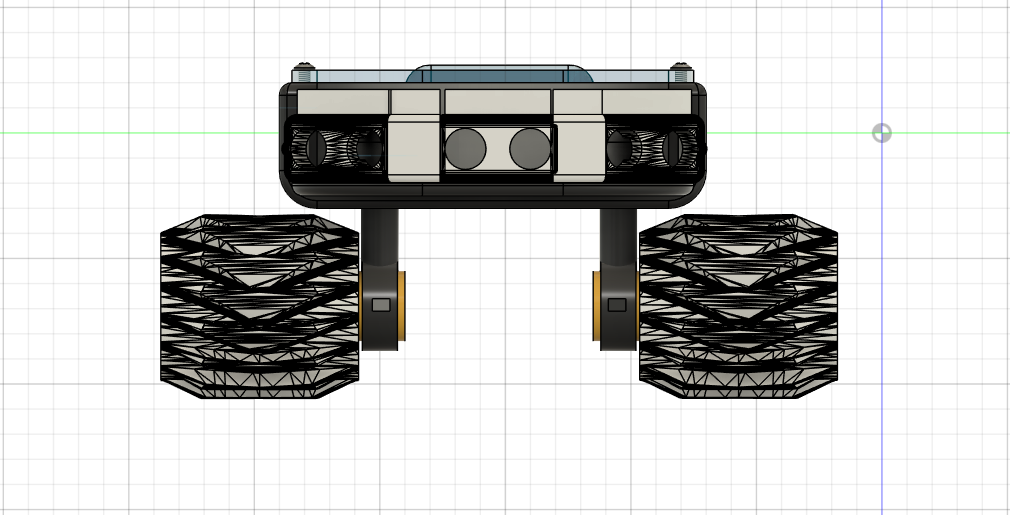
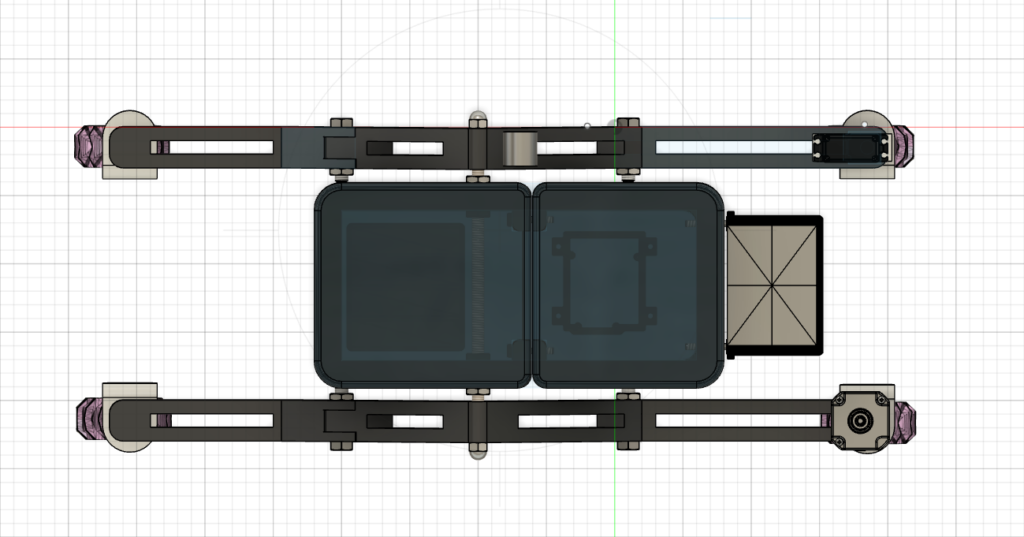
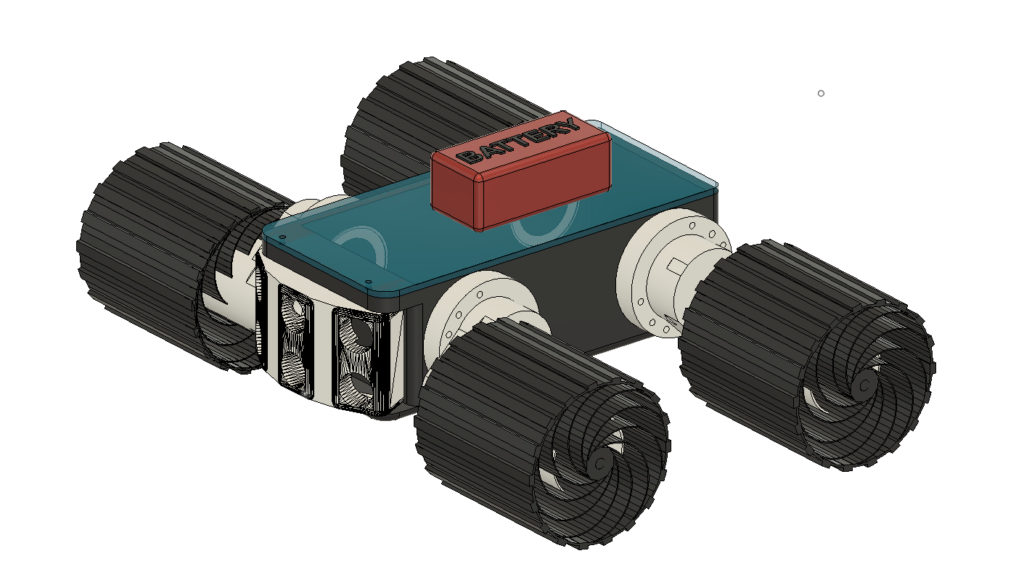
We pivoted to a skid-steer rover platform, opting for simplicity, robustness, and controllability. This involved four independently driven wheels, allowing the rover to turn by varying motor speeds on each side—similar to how a tank steers.
I took the lead on mechanical design and fabrication:
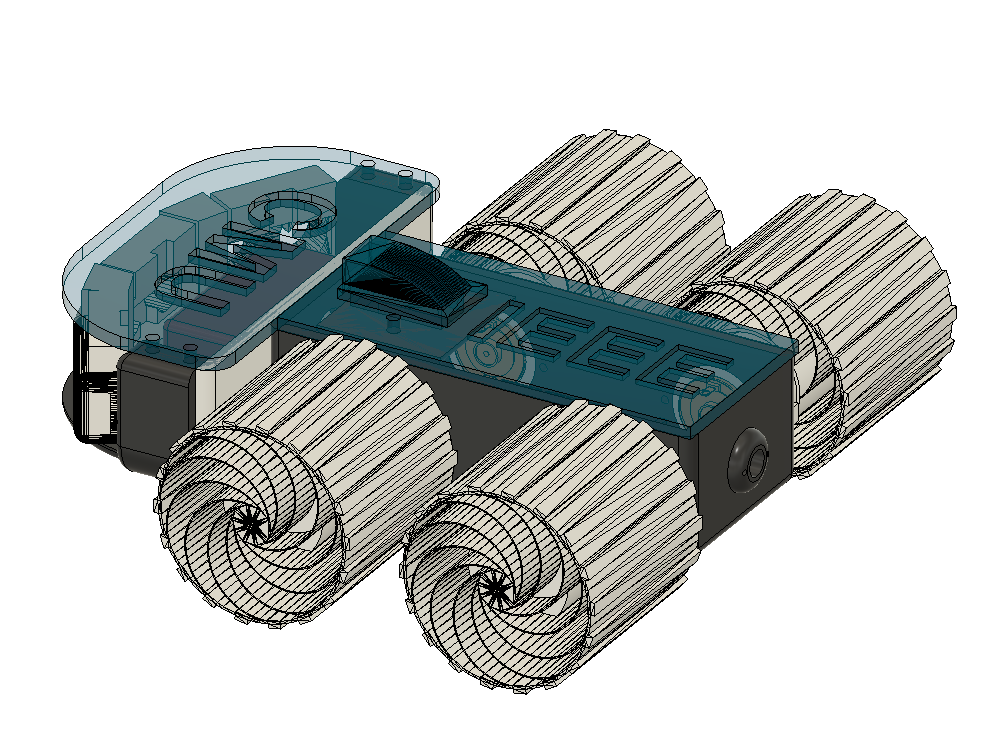
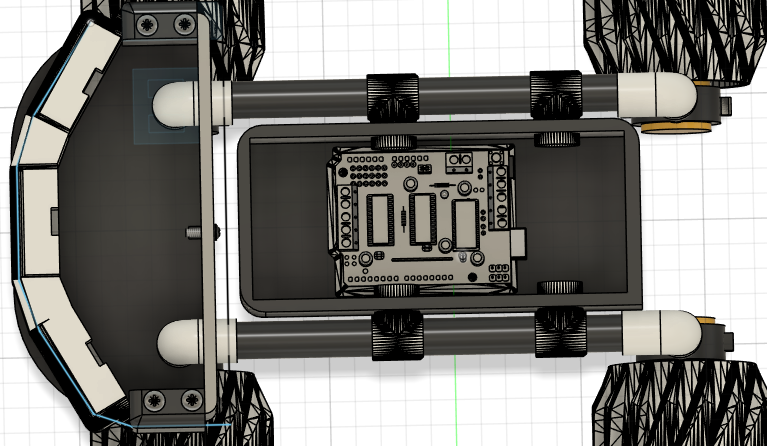
Designed the entire chassis in CAD, using Fusion 360
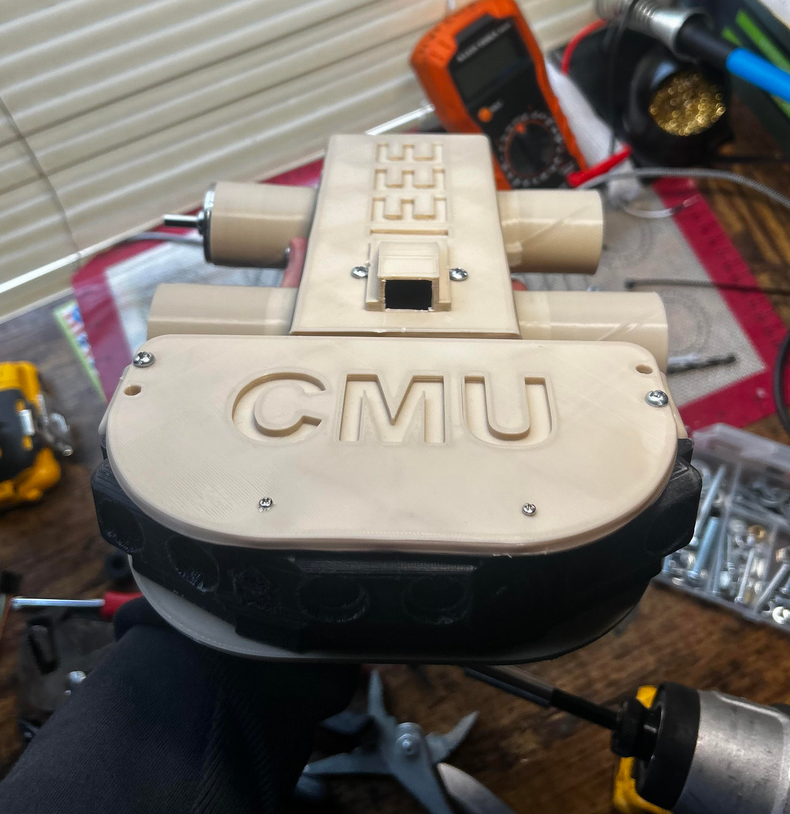
Built with custom 3D-printed components, reinforced with inserts for field service
Integrated quick-swap side panels for access to internal wiring and electronics
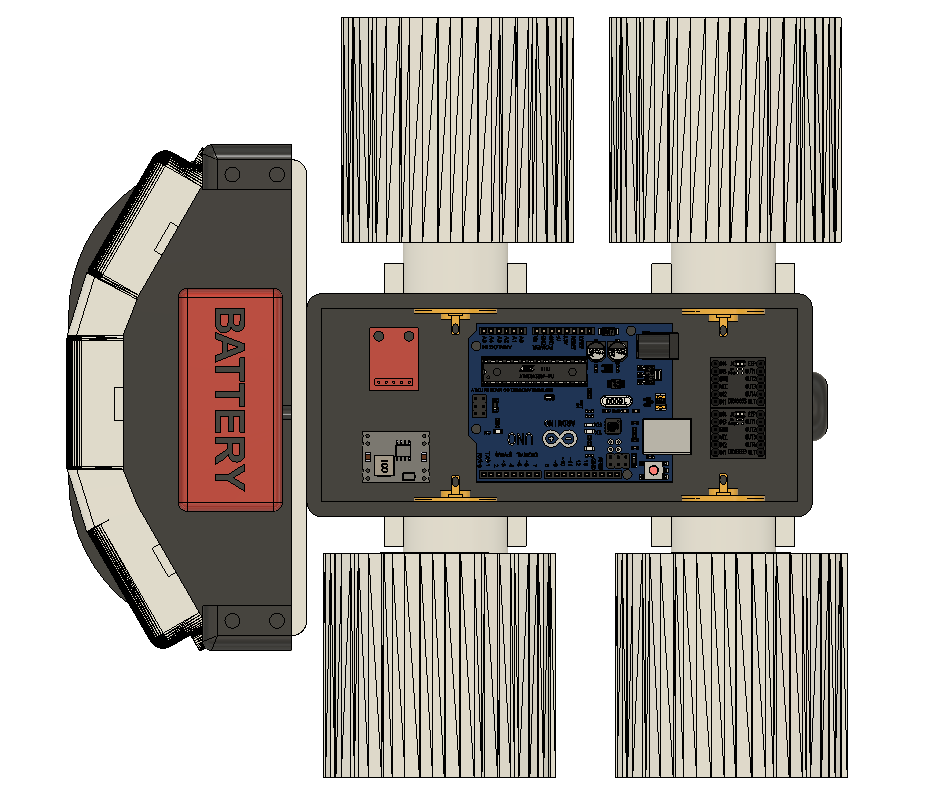
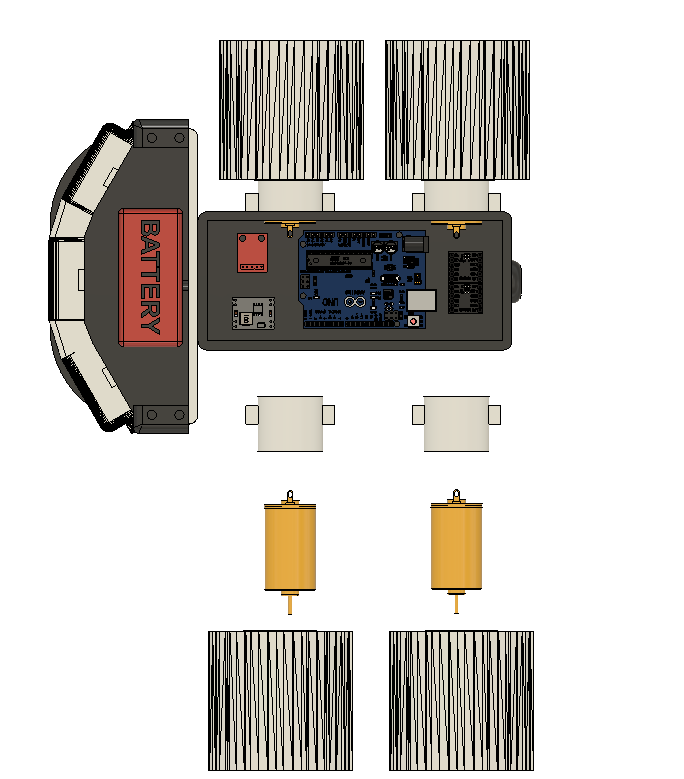
Designed mounts for sensors, drivers, battery, and power regulation components
The chassis is compact, rugged, and field-serviceable. It was designed to handle minor collisions, uneven terrain, and dusty environments while still being modular enough for in-field repairs.
Electrical System & Power Distribution
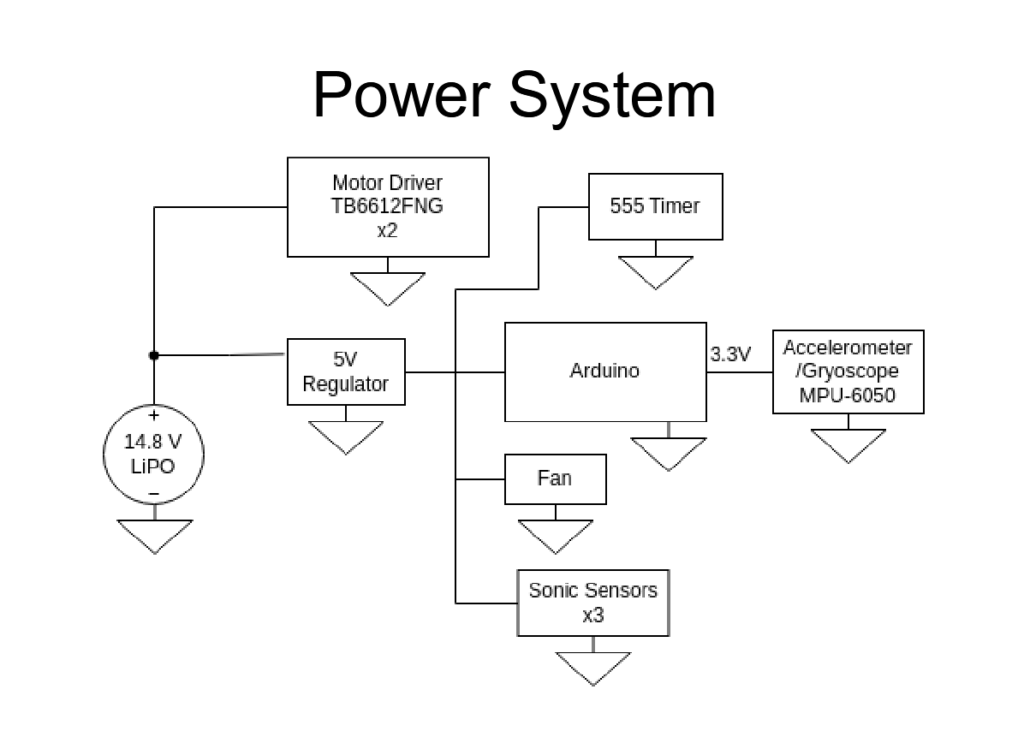
Our power system centered on a 14.8V LiPo battery, chosen for its energy density and current output. From there, the system branches into separate regulated paths:
5V Rail (via Buck Converter): powers Arduino, ultrasonic sensors, 555 timer circuit, and cooling fan
Motor Path: directly feeds two TB6612FNG motor drivers to control four DC motors
3.3V Line: powered through onboard regulation on the Arduino, used for I2C sensors like the MPU-6050
A key focus was power isolation and stability. All ground paths were linked via a star-grounding scheme, and capacitors were placed to buffer the regulators against voltage spikes.
Sensor Suite & Timing Logic
The rover’s autonomous capabilities rely on:
Three Ultrasonic Sensors (front-facing and angled sides)
MPU-6050 Accelerometer/Gyroscope for pitch/roll detection
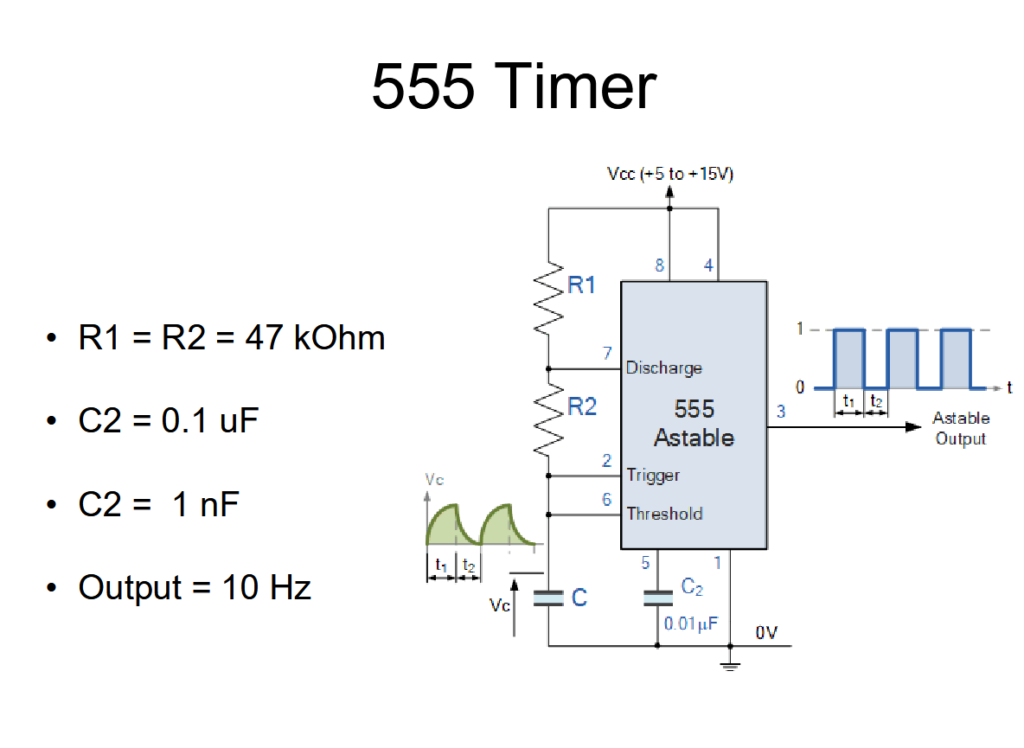
Custom 555 Timer Circuit generating consistent trigger pulses for the sensors
The 555 timer was configured in astable mode to produce a 10 Hz output signal. This ensured precise timing for ultrasonic trigger events, avoiding signal overlap or missed echoes.
555 Timer Circuit:
Embedded Code Architecture & Task Scheduling
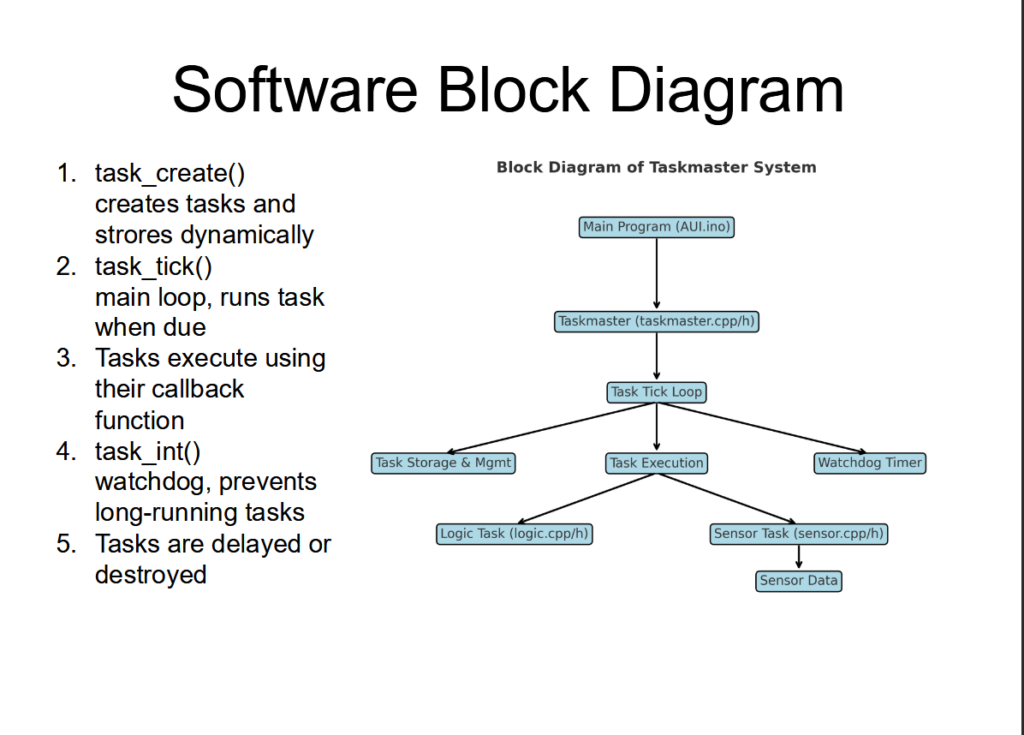
The software architecture was custom-built around a lightweight task manager written in C++. It breaks system behavior into manageable tasks:
task_create(): Registers new tasks
task_tick(): Called from the main loop, checks for due tasks
task_int(): Watchdog function to prevent system hangs
Callback functions handle sensor reads, motor control, and error handling
Each task runs independently, ensuring the system remains responsive even under load or in failure conditions.
Software Diagram:
This modular software approach made it easy to debug, tune, and expand behavior without affecting the main control loop.
Real-World Testing & Performance Tuning
We conducted testing in a variety of conditions:
Mulch beds for traction loss simulation
Gravel for bump and noise testing
Asphalt for precise turning calibration
Dirt hills to simulate the dunes
During testing, we monitored:
Motor balancing (one side drifting? Tune PWM)
Sensor blind spots (adjust mounting angles)
Temperature inside the chassis (verify fan effectiveness)
We ran real-time data logging through serial output and tested how the rover responded to obstacles, slopes, and fast motor reversals. We were able to change ultrasonic sensors and remount boards in under 2 minutes due to the modular design.
🏁 Final Prep for the Dunes
As of now, the rover is fully assembled, tested, and tuned for the Great Sand Dunes challenge on April 12th. The system is robust, modular, and engineered to be repairable in the field. Our documentation is ready, and our codebase is version-controlled and backed up.
This project pushed us to operate like real engineers. From design reviews with CU Boulder professors to rigorous hardware testing in real terrain, we developed:
Technical presentation skills
System-level thinking
Rapid prototyping and iteration workflows
We’re proud to represent Colorado Mesa University in a statewide NASA-backed competition—and we’re even prouder of what we built.
Hi, I’m Avery Izatt, an engineering student at Colorado Mesa University with a passion for building systems that span the digital and physical world. This website is where I document my technical projects, development experiments, and engineering work—ranging from embedded systems to server architecture.
🔧 Current Projects & Focus Areas
Over the past few years, I’ve worked on a range of hands-on and software-based projects, including:
COSGC Rover Robot – A planetary rover designed for the Colorado Space Grant Consortium, developed with a team of CMU students. I handled chassis design, mechanical integration, and field testing. The project included design reviews with NASA engineers and iterative refinement from rocker-bogie to skid-steer systems.
ESP32 Frog Tank Sensor Network – A live environmental monitoring system for multiple frog enclosures. Each sensor node (based on ESP32 or ESP8266 microcontrollers) reads temperature and humidity data and sends it to a Flask-based dashboard hosted on my homelab. Includes graphing, logging, and future automation controls.
Custom 1989 Mustang Build – A long-term personal project restoring and upgrading a 1989 Foxbody Mustang. I’m rebuilding the drivetrain, retrofitting electronics, and planning ECU tuning integrations to blend classic hardware with modern tech.
Home Server & Infrastructure (thefrogpit) – A self-hosted infrastructure stack including:
Nginx-hosted WordPress site (this one)
Homer dashboard for service and sensor monitoring
Nextcloud, Plex, qBittorrent, and Kasm for remote tools and media
Fully containerized services, automated backups, and secure SSH with key-based auth
What This Site Is
This site is equal parts:
Portfolio: Showcasing what I’ve built, how it works, and what I learned.
Reference: A space for notes, scripts, and solutions to problems I’ve solved.
Logbook: Documenting ongoing builds and future upgrades.